Annotation Node Tutorial: Add Context to Legal Bot Steps
Learn how to use the Annotation node in e! to add helpful context, instructions, or tooltips inside your Legal Bot — shown on hover or on click.
The Annotation Node is excellent for providing users with additional information in the front end. With customizable options for displaying this information, you can create an engaging and informative user experience.
In this tutorial, you see the process of setting up an Annotation Node.
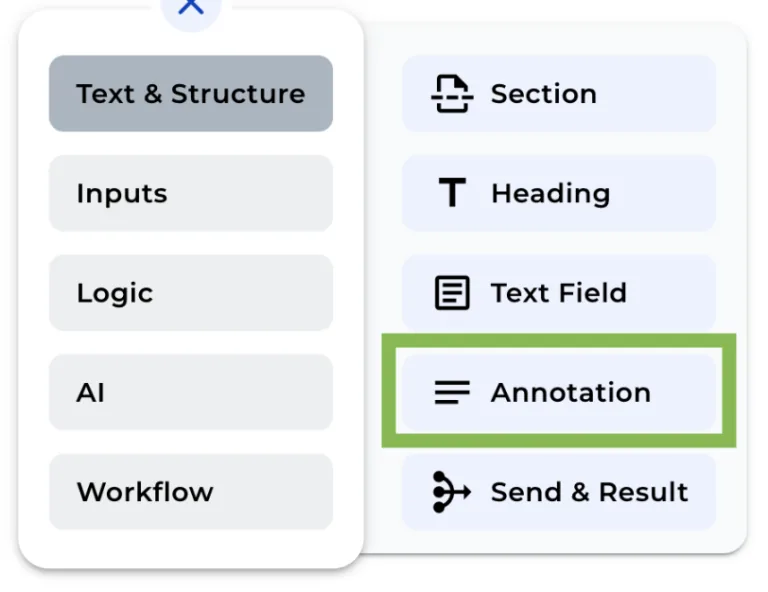
Step 1: Add the Annotation Node to Your Bot
Click on the “+” menu to display the features.
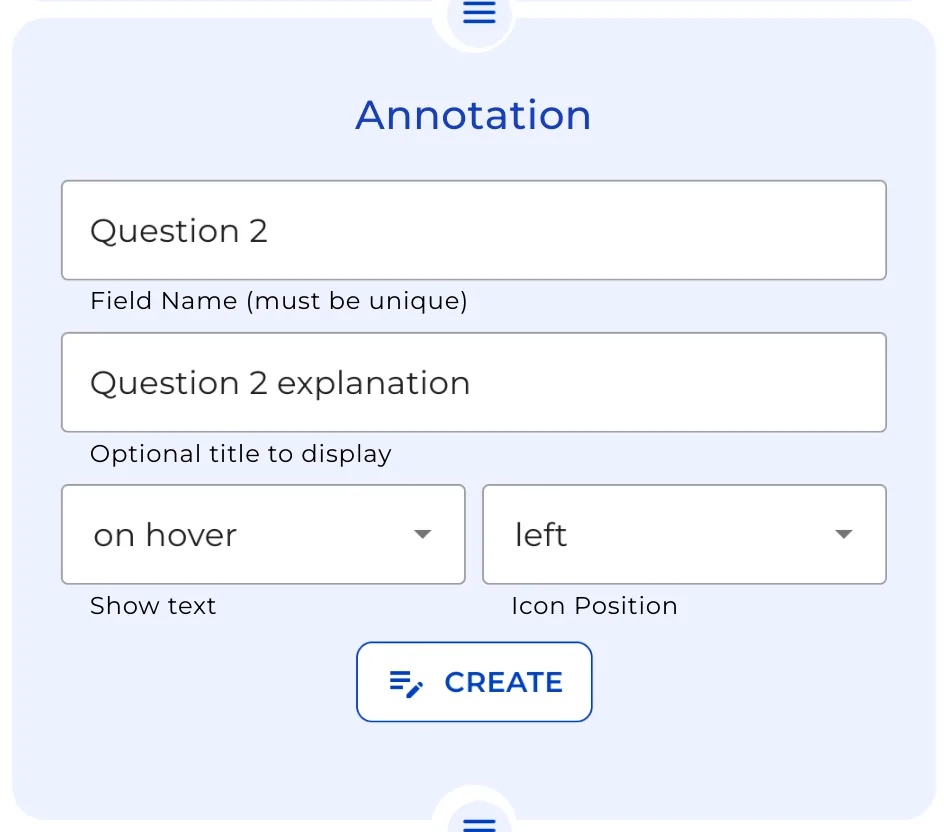
Step 2: Add a title
You can enter a title for this Annotation Node, this is optional.
Step 3: Configure the Display Method
Choose whether the extra information should be displayed upon a Click or a Hover action.
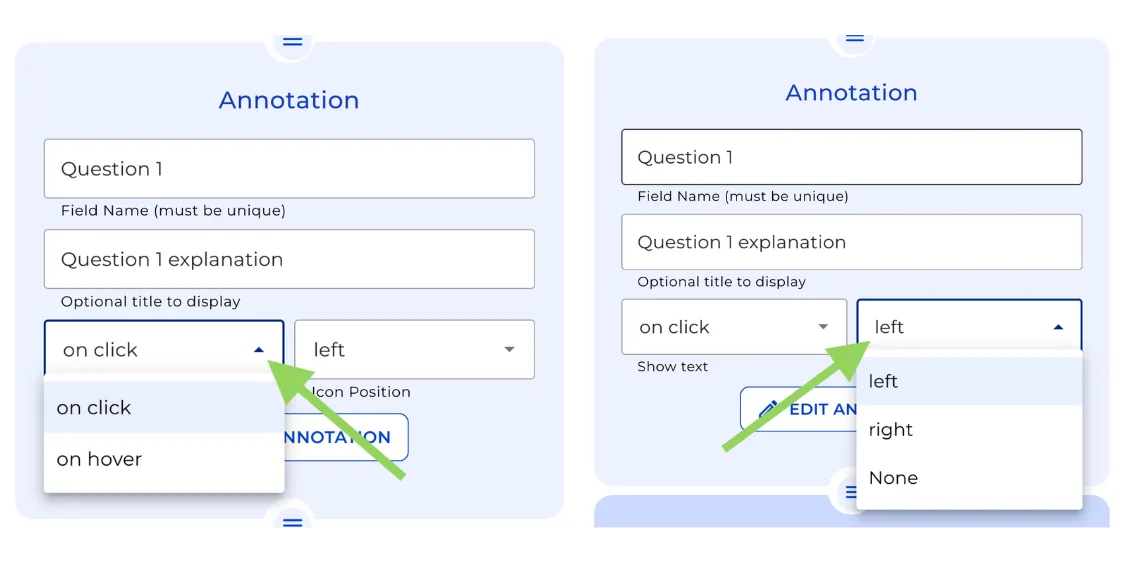
Step 4: Customize the Icon
You have the option to add text to the icon, select its position, or even deactivate it.
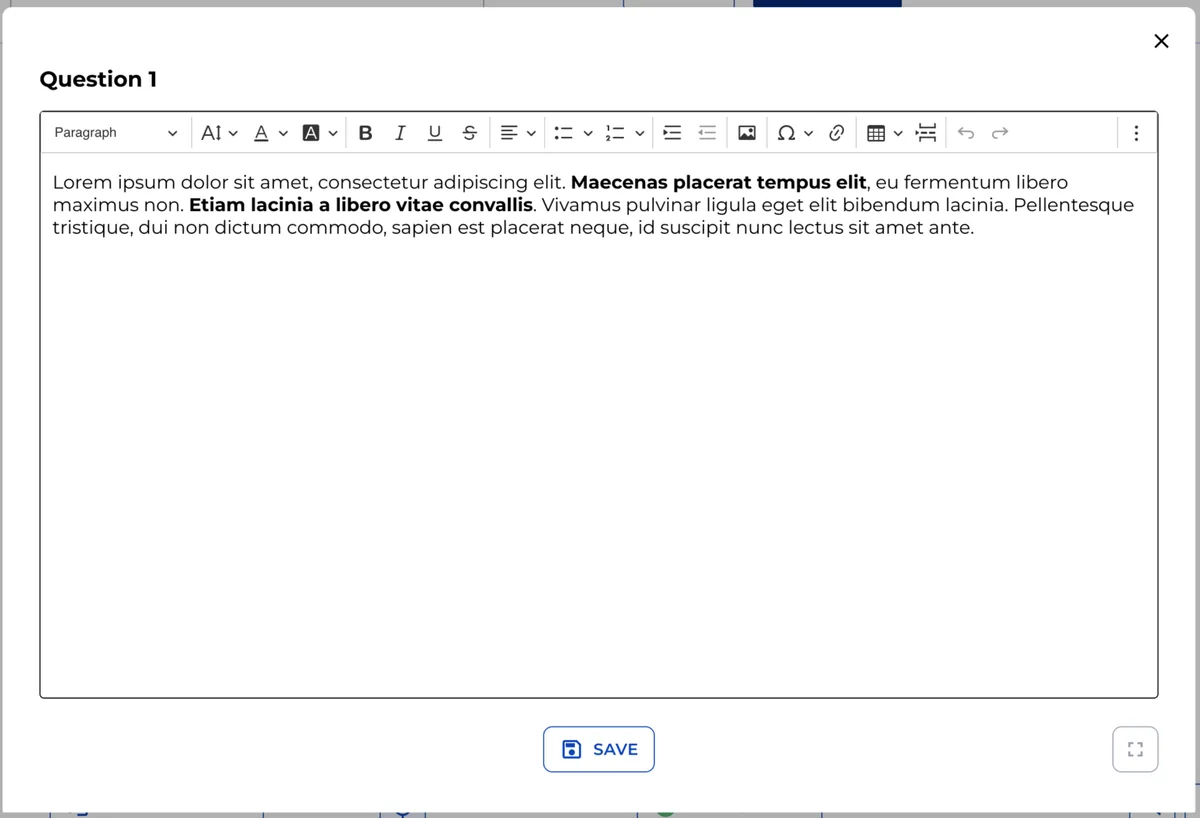
Step 5: Create the Annotation
To add the Annotation itself, click “Create” and input the information you want to display in the front end. You can format the text as desired.
For demonstration purposes, let’s create a second annotation with different settings.
Step 6: Set Up a Second Annotation
Create another Annotation, this time adding text to the icon and selecting the “Click” option for displaying information.
Step 7: Preview the Annotations
Click “Preview” in the top menu to view the front end from your client’s perspective.
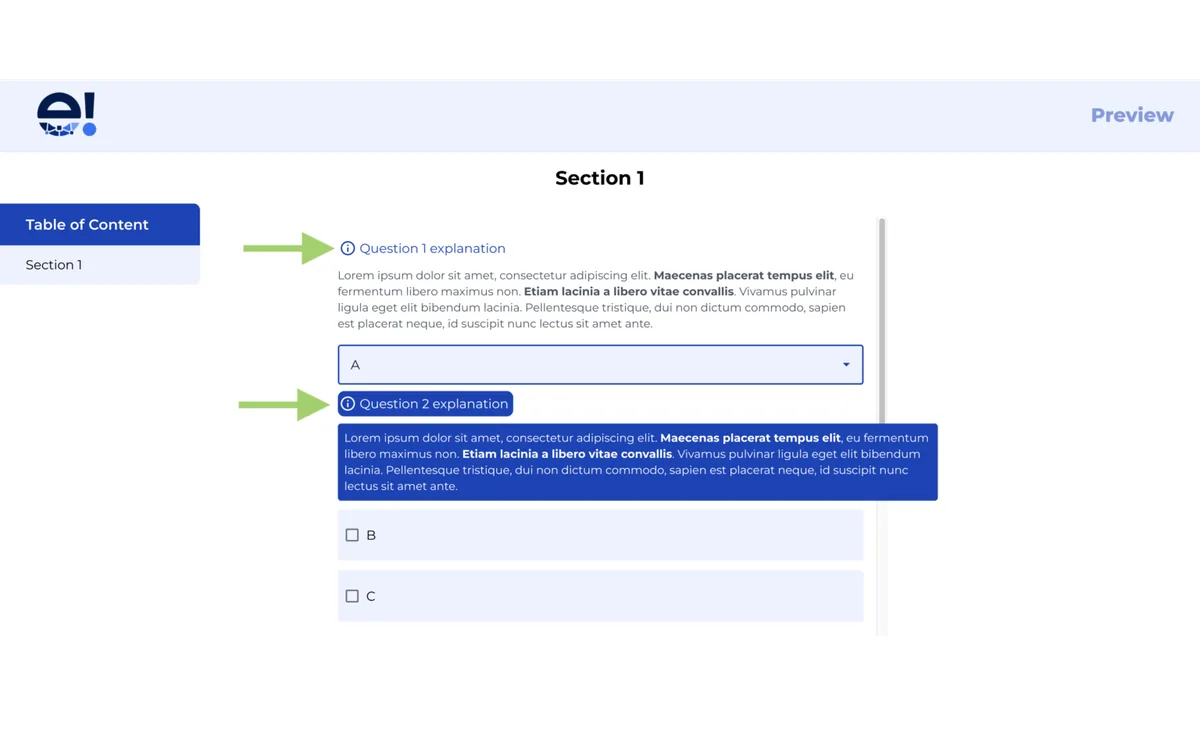
In the front end, you’ll see the two Annotations we created. The First one, set to “Hover,” displays information when the mouse Hovers over the icon. The Second Annotation, featuring added text and the “Click” option, reveals the information upon Clicking.
And that’s it! With the Annotation Node, you can effortlessly enhance your user experience by offering additional information in an interactive manner.