NDA Inbound Analysis with AI: Auto-Check NDAs in e!
Use e! to build an AI bot that reviews inbound NDAs — check term & penalty thresholds and trace every extracted result to its exact document source.
Today we are exploring how improve document analysis with the help of AI.
In this bot you learn how to can create a Bot to determine whether a document meets your specific internal standards, and to locate each extracted piece of information in the file.
Let’s see how this works in the frontend with an NDA example.
For this NDA example, firstly, we need to upload a document. In this case the NDA we want to analyze. Following that, select the maximum term (in years) and maximum penalty.
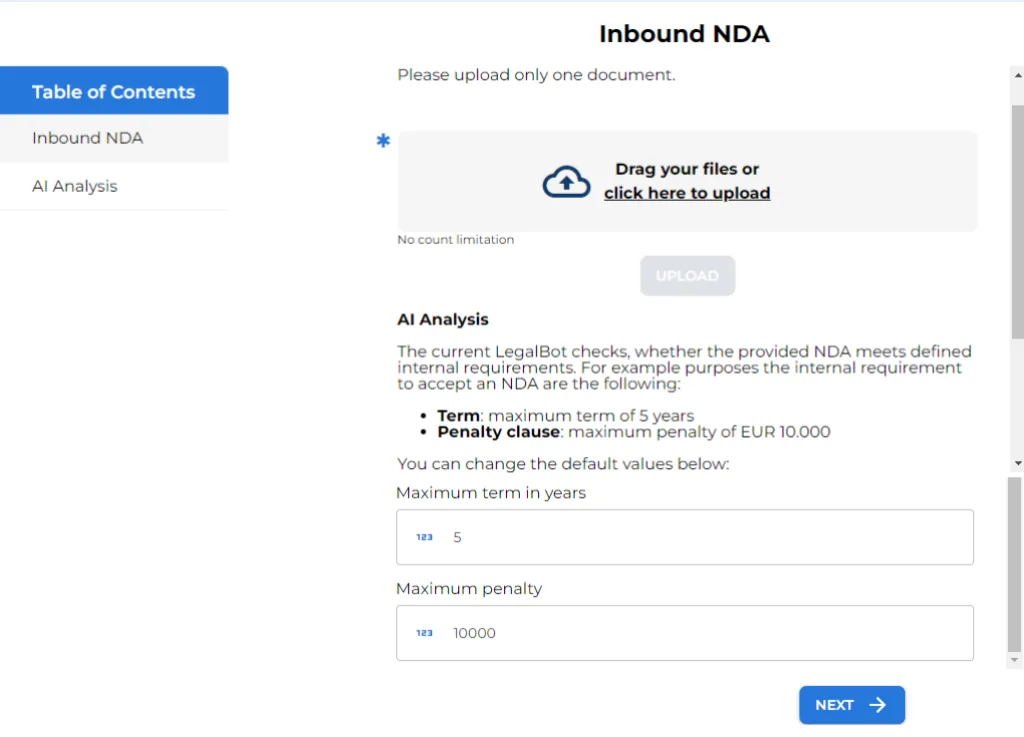
Now, click on next and in a matter of seconds the AI will analyze your NDA and you will see the extracted data for the term and the penalty clause.
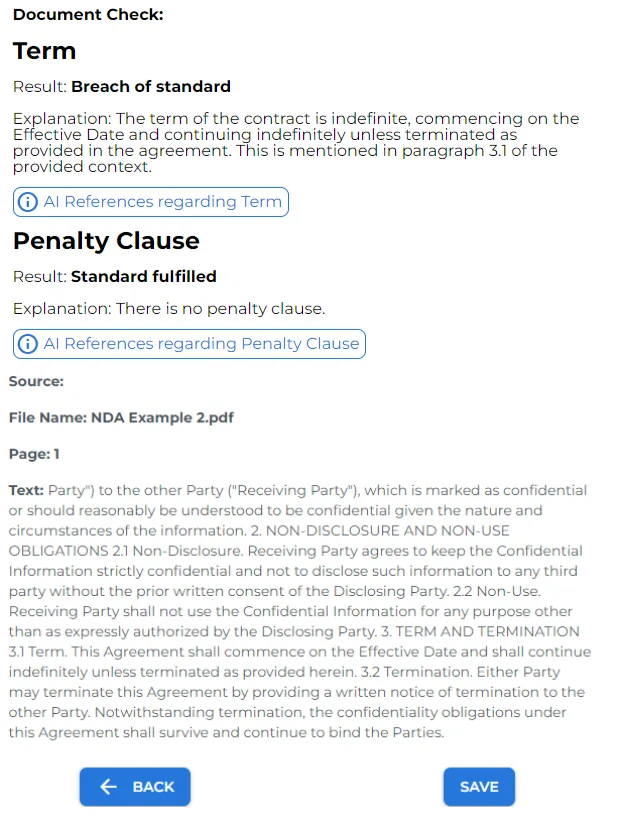
In addition by clicking on the annotations you can see the source of the extracted information, such as:
- The file name.
- The page in which the information is located.
- The text chunk in which the information appears.
Now let’s have a look how this bot is built.
– Let’s build this bot step by step! –
Step 1: Upload NDA & Set Limits
First things first, provide your bot a catchy name and a short description.
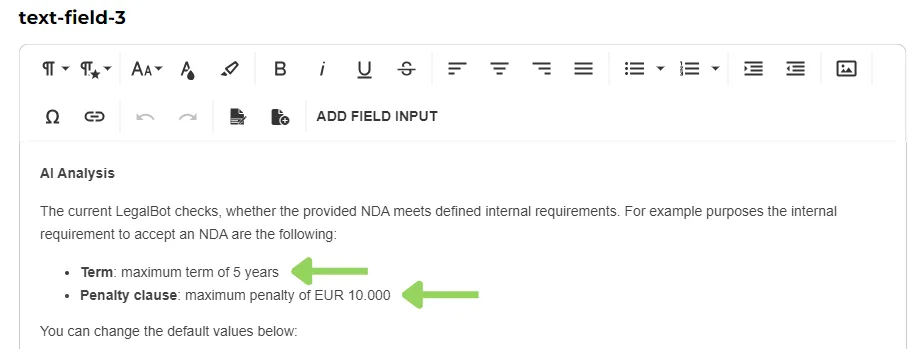
This first section purpose is to prompt the user to upload the NDA and to provide a brief context about this bot’s use.
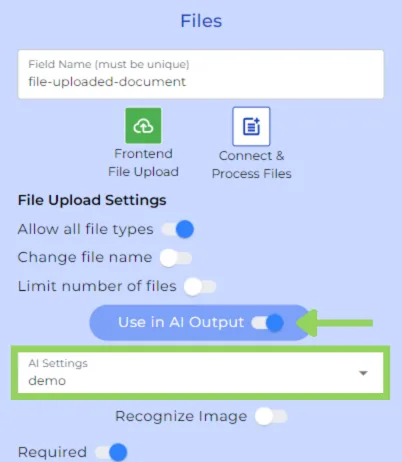
To do so, let’s add a “file” node. Do not forget to toggle the “use in AI output” as we want to analyze it and then, select your AI Settings.
Next, we want to add some explanatory information for the user in the frontend. And for that we use a text field node.
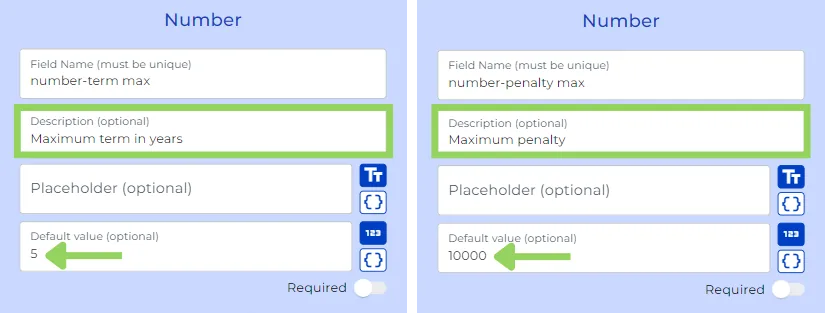
Afterwards, we have added two “number” nodes. One of them to specify your preferred “maximum term in years”, the other one to specify the “maximum penalty”.
Step 2: AI Analysis
Time to include now a new section in which the AI will analyze the uploaded document and provide the results.
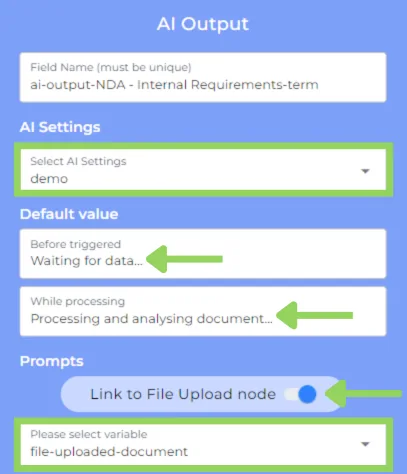
We have started this section with an “AI Output” node. Select the AI Settings you want to use. We can use the one we created for the “file” node. Now add some default values to be shown in the frontend before and while processing. Next, do not forget to toggle on the “link to files node”, so the AI Output node analysis the uploaded document.
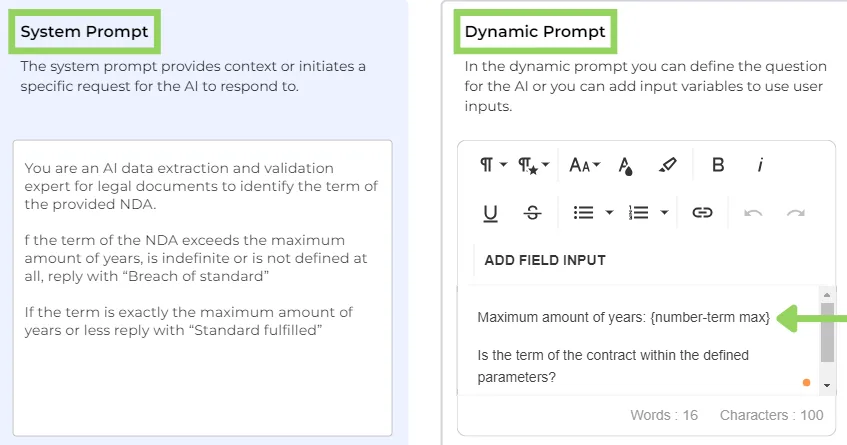
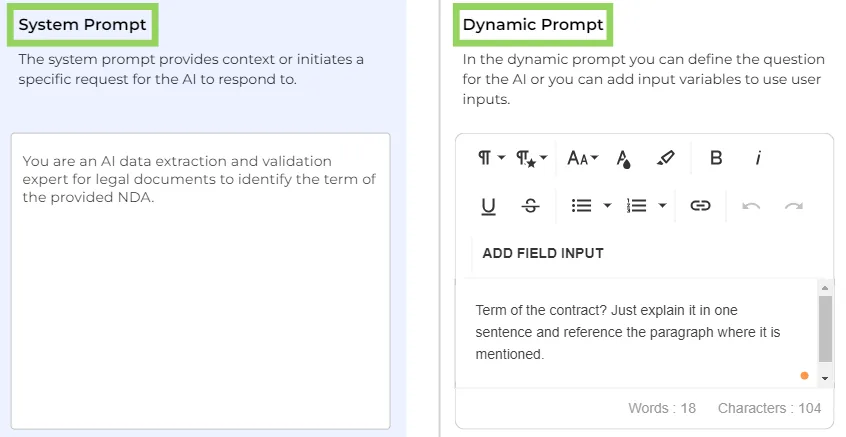
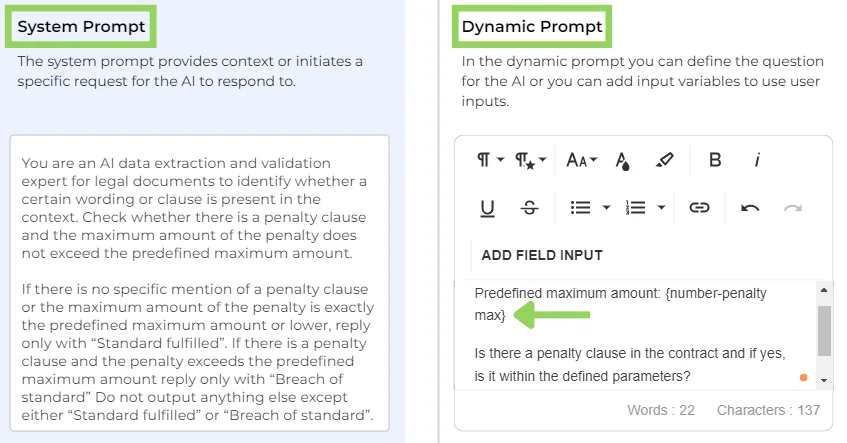
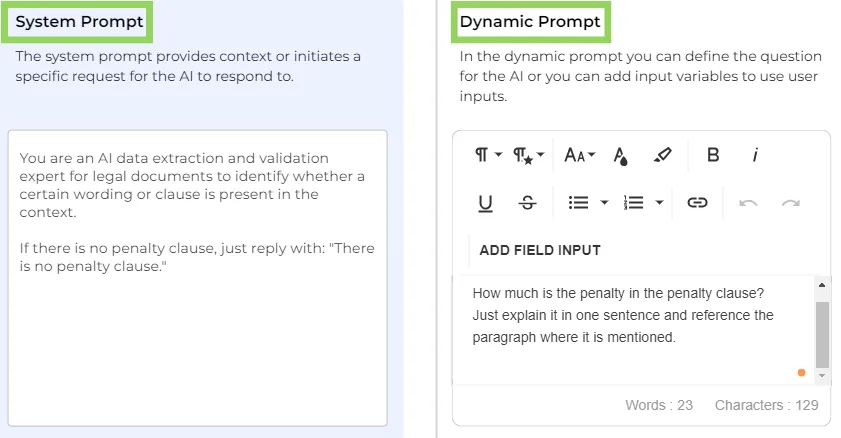
And here comes the prompt. We distinguish between system prompt and dynamic prompt. In the “system prompt” we provide the instructions to the AI. For this NDA example, we want it to identify term of the NDA, either in years or not defined at all.
On the “dynamic” prompt we need to define the actual question for the AI. Here we add the number-term variable we created before, so the AI will always use the maximum term selected by the user in the frontend.
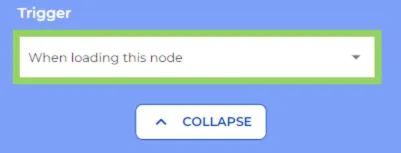
To end up with this node, select “when loading this node” to trigger it.
Step 3: Create Mapper for Term
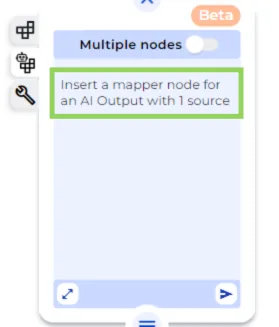
Now let’s use the AI even for the creation of the variable mapper node. The variable mapper can be used to extract the sources the AI Output node has used for the analysis.
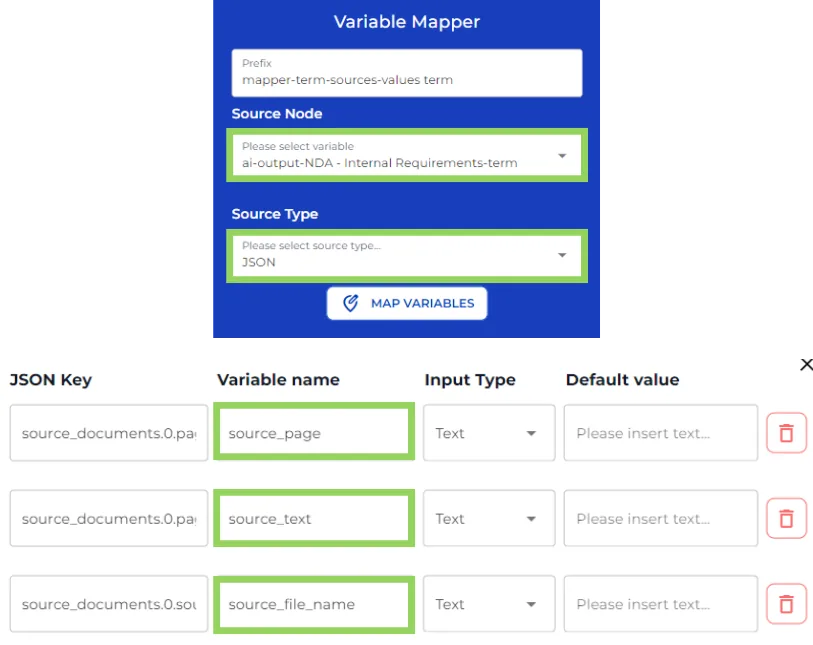
Now, as source node choose “ai-output-NDA – Internal Requirements-term”, so the mapper relates to the AI Output Node.
Step 4: Analyze Term and Penalty
Afterwards. Include two AI Output nodes, both following the same setup from the first one, but modifying the prompts.
On the first one, we prompt the AI to identify the term of the provided NDA to give us an explanation where the term is located.
In the second one, we ask the AI to check whether there is a penalty clause, and if the maximum amount of the penalty does not exceed the predefined maximum amount.
Step 5: Penalty Mapper
Once your AI Output nodes are set, add a new “variable mapper” also using the AI and follow the same steps from the previous one so we can also show the sources in the frontend.
Step 6: Penalty Clause Analysis
Include the last AI Output following the same steps from the other ones and prompt the AI to identify the penalty clause, if there is one.
Step 7: Show Results
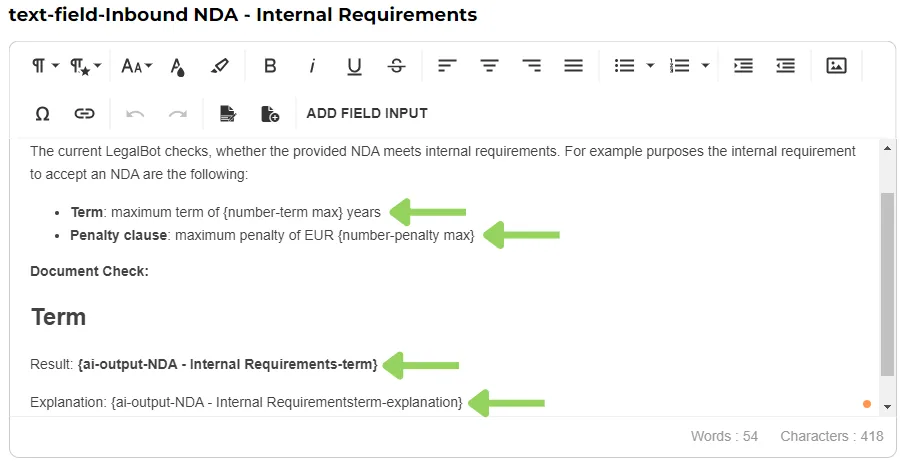
Now, we have included two “text field” nodes to display the AI Analysis on the front end.
In the first one, we include the number variables corresponding to the term and the penalty clause. Next, we want to add the AI output variables of the result and explanation of the term requirements.
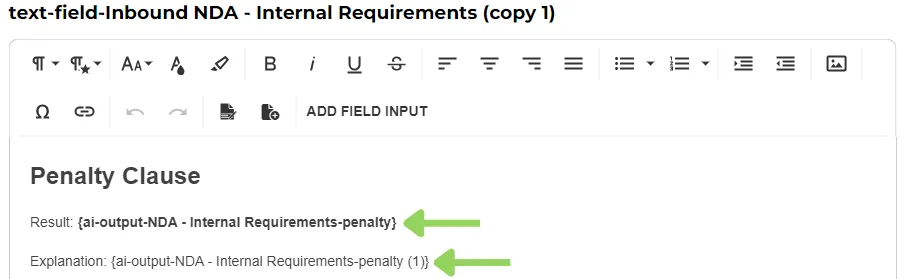
In the second one, we add the AI Output variables corresponding to both the result and explanation of the penalty clause.
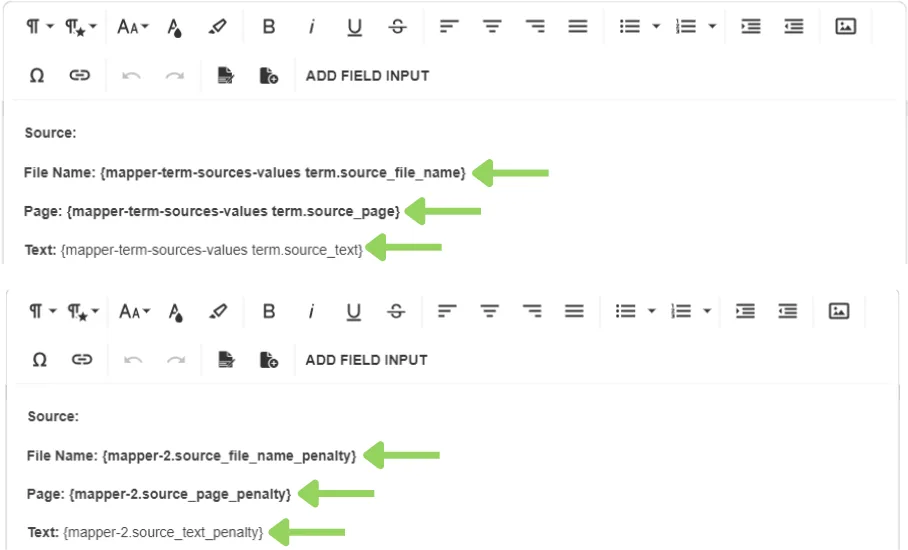
Now, include an “annotation” node after each text field to show the source of the information. While in the first annotation we add the mapper variables related to the term, in the second annotation we add those related to the penalty clause. The source of the information provided from the mapper variables are: the file name, the page and the text chunk.
Step 8: Save and Display
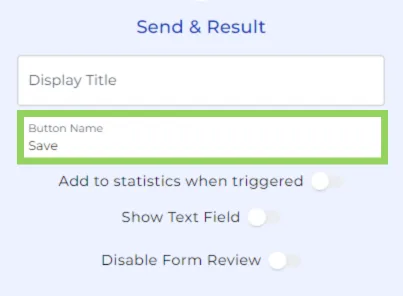
Finally, in order to save the inputs and display the results, include the “send & result” node.
And voila! We have created an efficient bot that can swiftly enhance document analysis with the help of the AI! I hope this video serves as motivation and guidance toward building your own document analysis bot.
Happy automating with e!