In this tutorial we will guide you through mastering the Risk Analysis Demo. Ready to dive in?
Step 1: Naming and Describing Our Bot
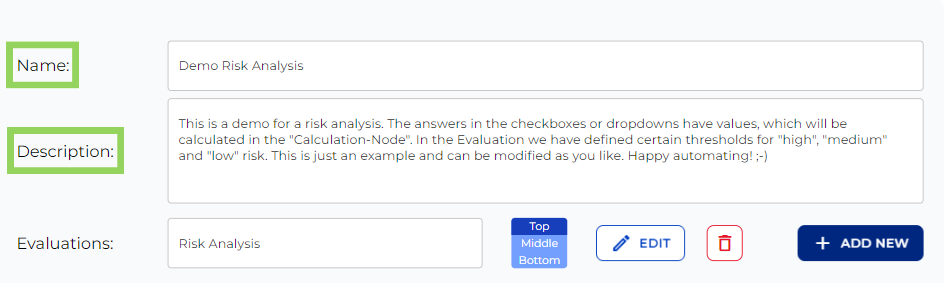
First off, let’s pick a catchy name and craft a description. Our bot’s mission is to evaluate potential risks a company might face based on the AI Act risk categories. Keep in mind, this description is just for you, so let your creativity flow!
Step 2: Structuring with a “Section” Node
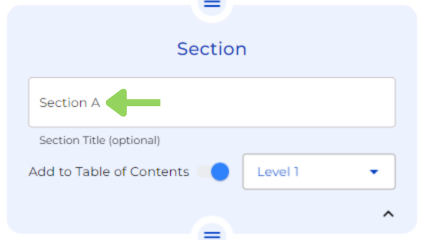
Next, we’re adding a “Section” Node and named “Section A”. This step helps in organizing our bot for a smoother operation.
Step 3: Organizing with “Heading” Nodes
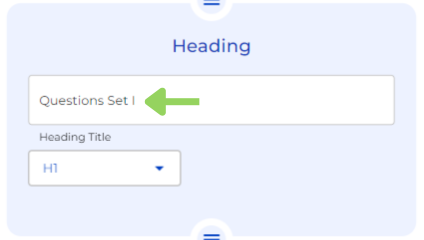
We’ll insert a “Heading” node here, which we’ll call “Questions Set I”. Like the “Section” node, this aids in structuring our bot efficiently.
Step 4: Detailing with “Annotation” Nodes
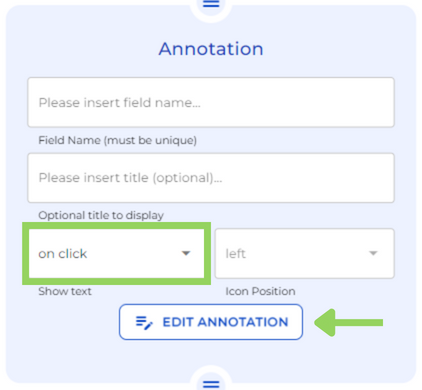
An “Annotation” node is up next. Its job is to explain to the user what they are expected to do in the following node, which in this case is letting them know the use of this bot. You can name this annotation or even leave it blank and choose if the explanation appears “on hover” or “on click”.
Step 5: Assessing Risk with Interactive Nodes
Here’s where it gets crucial. We’ll use a variety of nodes to estimate the risk a company might face. Initially, add a “Checkbox” node, we need to write a brief description such as a question the user will answer by choosing the most suitable option.
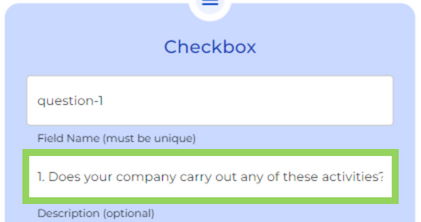
Consequently, add as many options as you think are necessary for your purpose.
The options that we have chosen for this section are:
- A Biometric categorization of people based on sensitive characteristics.
- Employment and workers management.
- None.
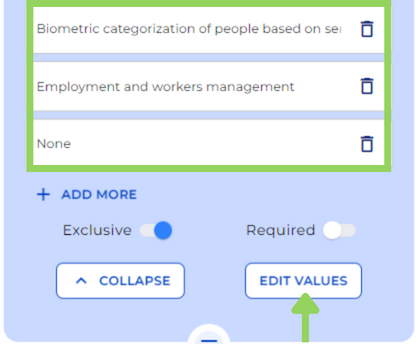
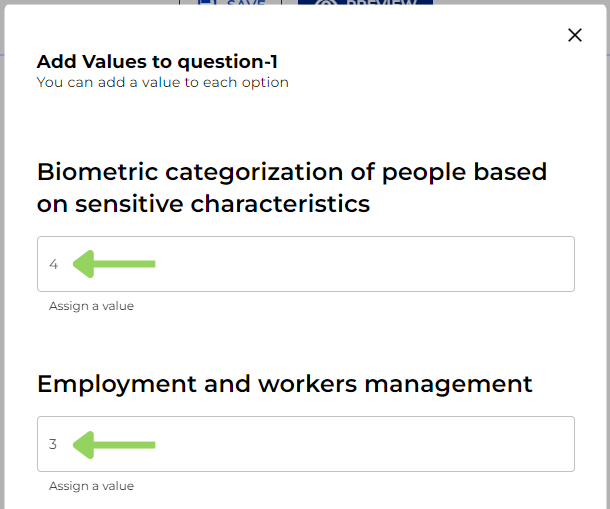
To end up with this node, we are going to edit the values we want to assign to each option according to their risk.
Step 6: Continuing with the Evaluation Process
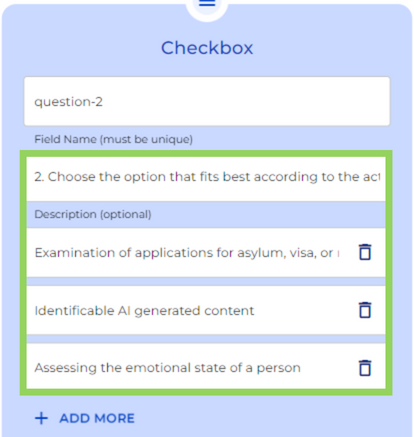
We’ll mimic the earlier steps with another “Checkbox” node, setting up a brief description, options, and their respective risk values. This process enriches our analysis.
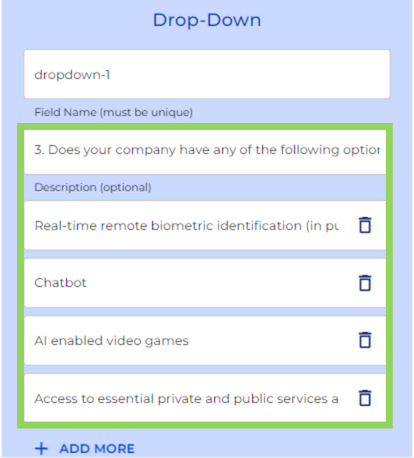
Step 7: Refining with a “Dropdown” Node
Lastly for this first section, we integrate a “Dropdown” node, mirroring the “Checkbox” node’s structure. Here, you’ll pen down a concise directive, list down the options, and allocate risk values for each. Remember, only one option can be selected from the dropdown.
Step 8: Expanding Our Bot with “Section B”
Continuing to enhance our bot’s framework, we introduce another “Section” node, this time named “Section B.” This addition ensures our bot remains well-organized and user-friendly.
Step 9: Adding Depth with “Questions Set II”
Following the bot line, we incorporate a new “Heading” node, now called “Questions Set II.” This step further structures our bot, making navigation and understanding seamless for users.
Step 10: Reflecting on Previous Answers
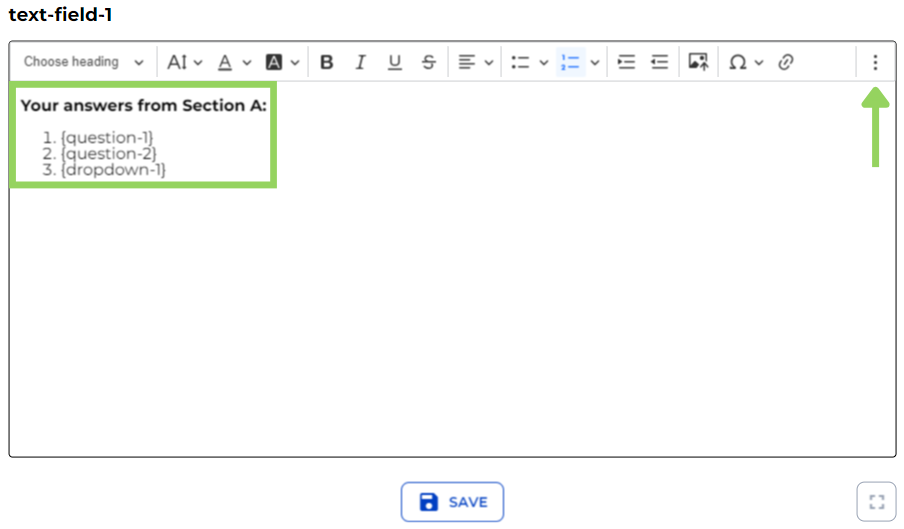
A “Text Field” node is next. By editing this node, we help users to remember their previous choices.
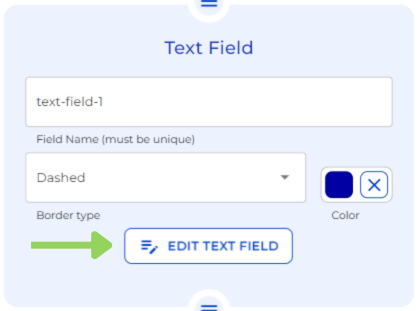
Utilize the three-dot menu to integrate variables representing the Checkboxes and Dropdown from earlier sections, enriching user engagement and clarity.
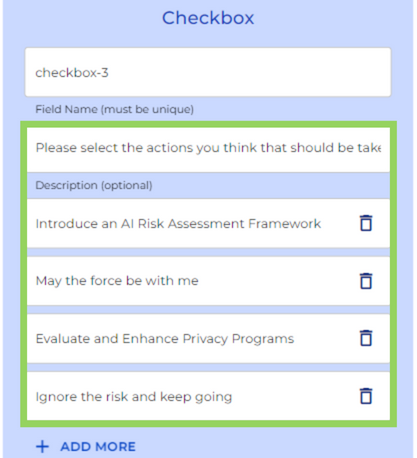
Step 11: The Final “Checkbox” Node
It’s time for the last “Checkbox” node. By now, you’re familiar with it. Write a succinct description, list necessary options, and assign each a specific value. The options utilized will be detailed in the explanatory text below, ensuring users have all the information they need.
Step 12: Last Section
To wrap up our bot’s construction, we add one last “Section” node named “Summary & Result.”
Step 13: Summarizing User Responses
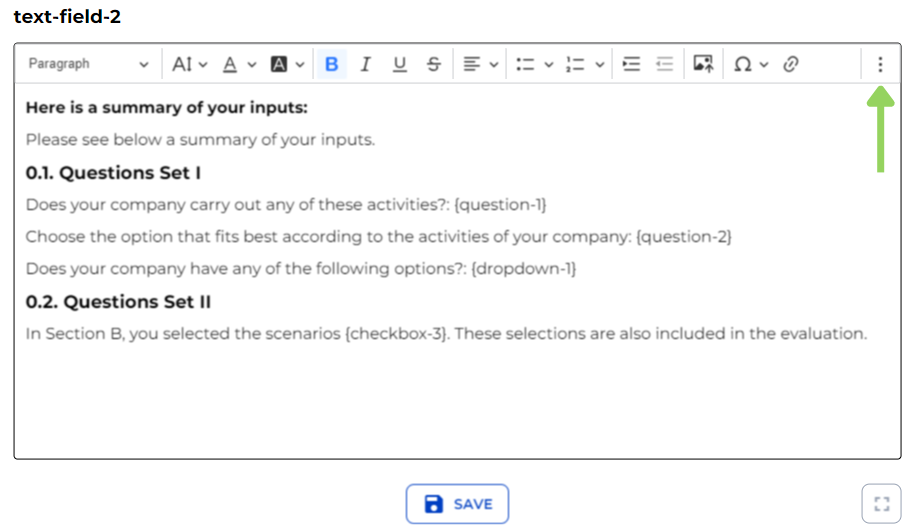
Lastly, a “Text Field” node is employed to summarize user responses throughout the bot’s journey. Access the three-dot menu again to select the variables from checkboxes and dropdowns, allowing users a comprehensive view of their inputs and decisions.
Step 14: Calculating Risks with Precision
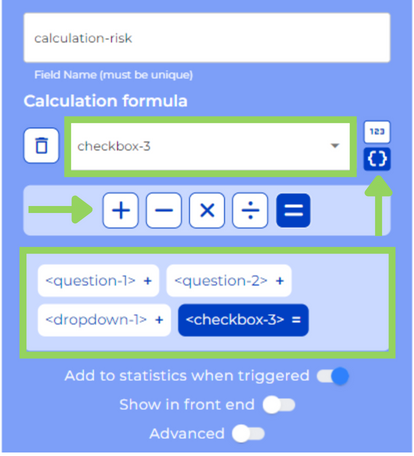
Let’s introduce a “Calculation” node to our legal bot. This step is crucial in determining the risk level a company faces.
The calculation formula is created by incorporating the variables crafted during the bot’s creation phase (checkboxes and dropdown menus). The magic happens when these variables combine in a calculation formula, summing up the values tied to the client’s choices on the frontend. It’s a methodical approach to quantifying risk.
If you want to learn in greater depth all the possibilities offered by this node, you can check the Calculation Node Tutorial.
Step 15: Navigating Through Risk with Logic
Our bot’s intelligence grows with the addition of a “Logical Condition.” Here, we’ll carve out four distinct “Logic Steps,” each representing a degree of risk: Unacceptable, High, Limited, and Minimal.
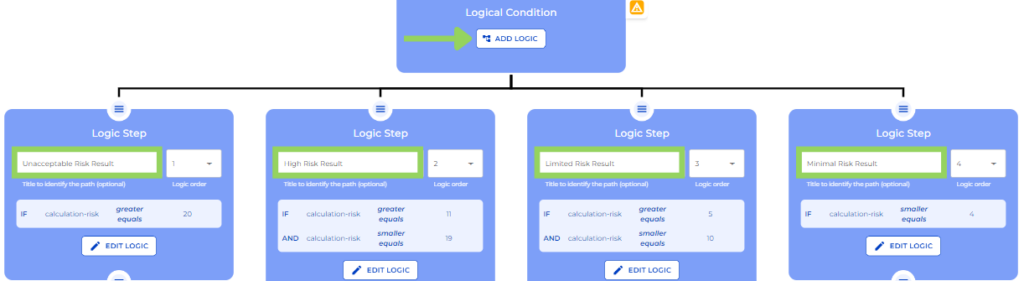
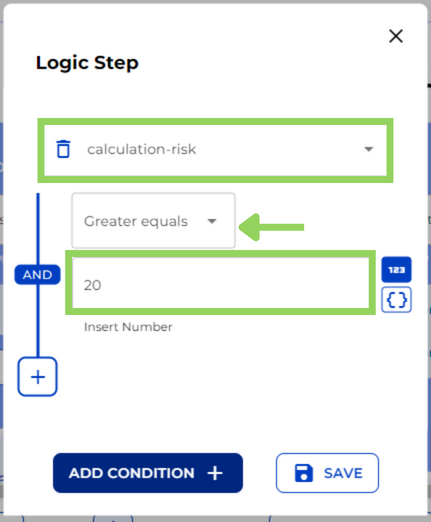
By hitting the Create button, we set the stage for each condition, selecting the Calculation variable first, then a condition (such as “Greater Equal”), and finally, a defining number. That number will indicate the addition of the different values of the different options chosen from the checkboxes and the dropdown. This process, replicated across all logic steps.
Step 16: Visualizing Risk Through Text Fields
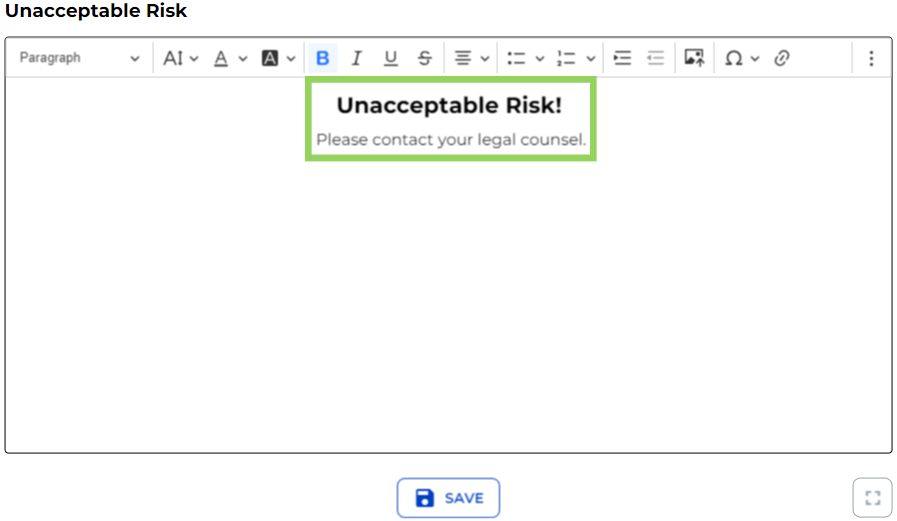
With each “Logic Step” defined, it’s time to add a “Text Field Node”. Bear in mind that if you have 4 logic steps you will have to add a text field node to each logic.

The text added on the Text editor should indicate the risk level of each logic.
Step 17: Enhancing User Experience with Evaluations
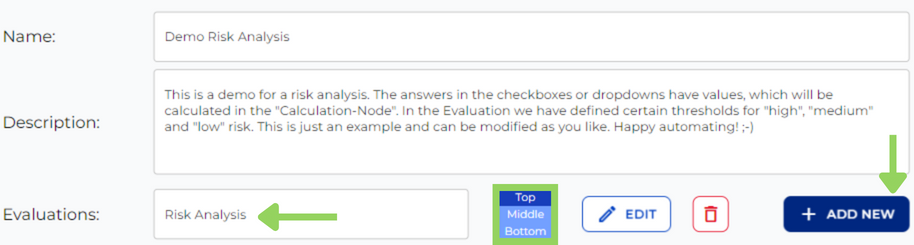
For this step we are going to ascend until we reach the bot’s foundation, we encounter the option to add “Evaluations.” By clicking “Add new,” we facilitate a front end feature that presents users with an evaluation of their company’s risk level based on their selections from the checkboxes and dropdown.
First, give a headline to the evaluation, for this case we have chosen “Risk Analysis”, edit a concise description of its use and so as to ensure great visibility in the front end pick its alignment.
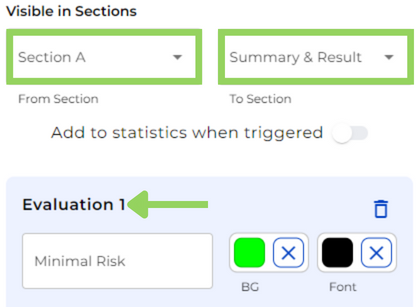
Second, we have to choose in which sections will be these evaluations visible.
Next, given that we want to see one evaluation for each risk level, we are going to add four of them (unacceptable, high, limited and minimal risk). These evaluations are the risk levels shown in the front end.
Finally, let’s select from the first dropdown the “Calculation” variable, from the second one, the range, and from the last one, the value.

Bear in mind that the result of the sum of all dropdowns and checkboxes selected by the client (what we have done in the calculation node) relates to this evaluation values.
If you want to learn about the evaluations in greater depth, you can check the evaluations tutorial.
Step 18: Preview and Interaction
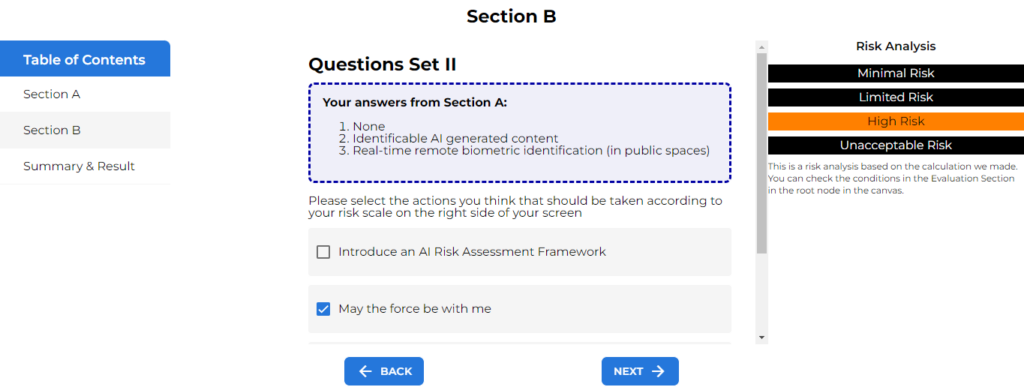
Now, hit the preview button to witness our bot in action. Interact with it by selecting options in “Section A” that best describe your company’s scenario.
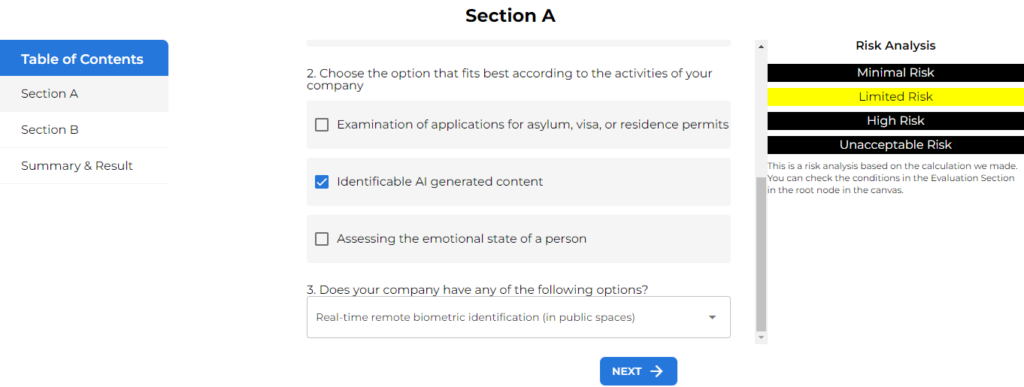
“Section B” reveals your choices and prompts for further refinement asking you to select further details.
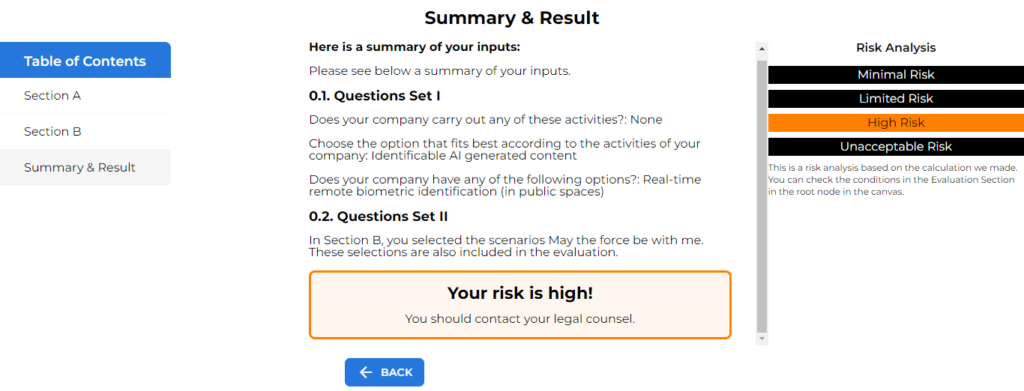
Finally, “Summary & Result” aggregates your responses, and alongside, the bot displays the risk level your company potentially faces. It’s a comprehensive overview, offering insights into your decisions’ implications.
Congratulations! You’ve reached the end of this journey, equipped with a demo adaptable to various risk scenarios. Explore and apply it to fit your needs.
Happy automating with e!