Hi again guys! Welcome to a new tutorial, in this case, “Left Menu” is the star of this video, and we’ll walk through how to use the e! Left menu of your Dashboard.
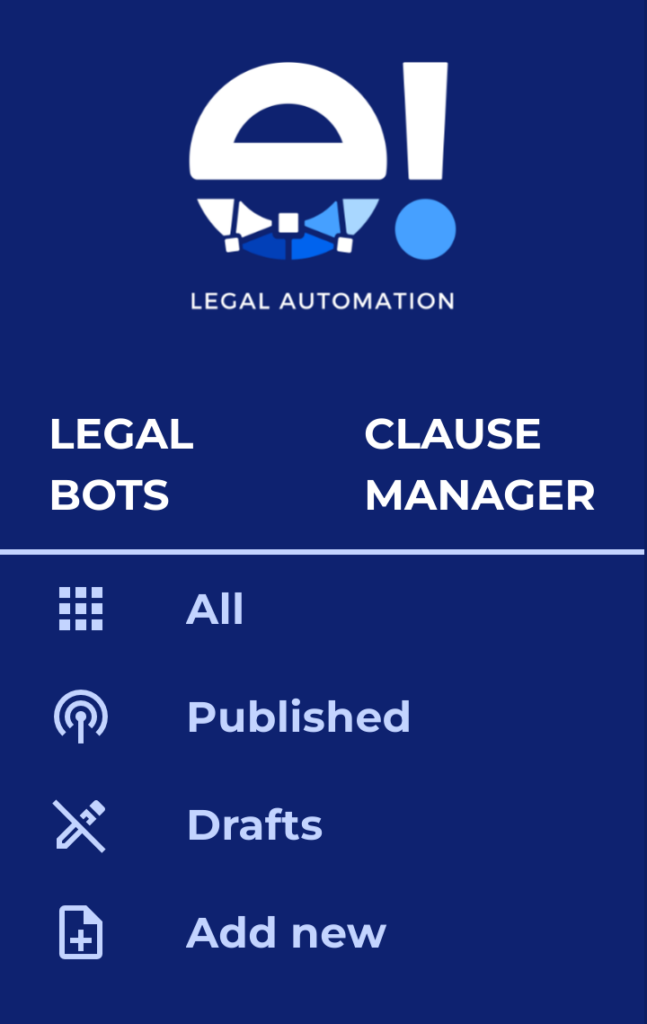
1) Legal Bots Section:
– All: This is your bot library. All the bots you’ve ever made are stored here, both published and drafts.
– Published: Here’s where your live bots are. Anything you’ve shared with customers can be found in this section.
– Draft: This is your work in progress area. Unfinished bots are saved here, ready for you to continue working on them.
– Add New: Here, you can create a new bot. Click “Add New”, and a blank bot will be ready for you to design your bot tree.
2) Account section:
From this section you can manage your account information, ask for help and Logout from your e! profile. Let’s start exploring all the options here:
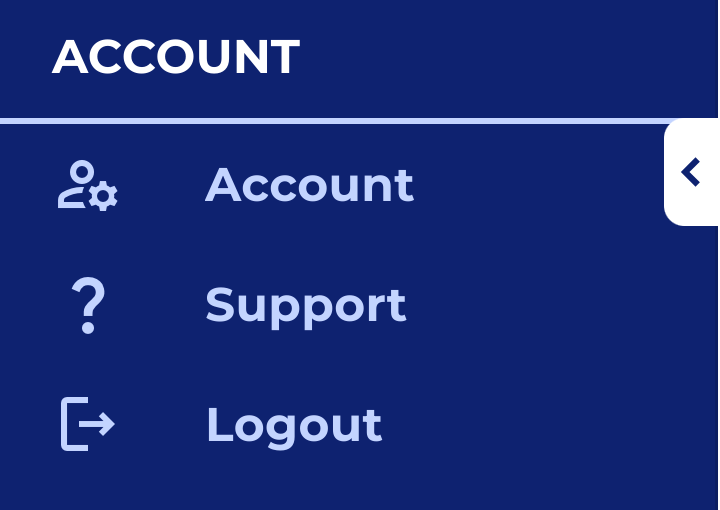
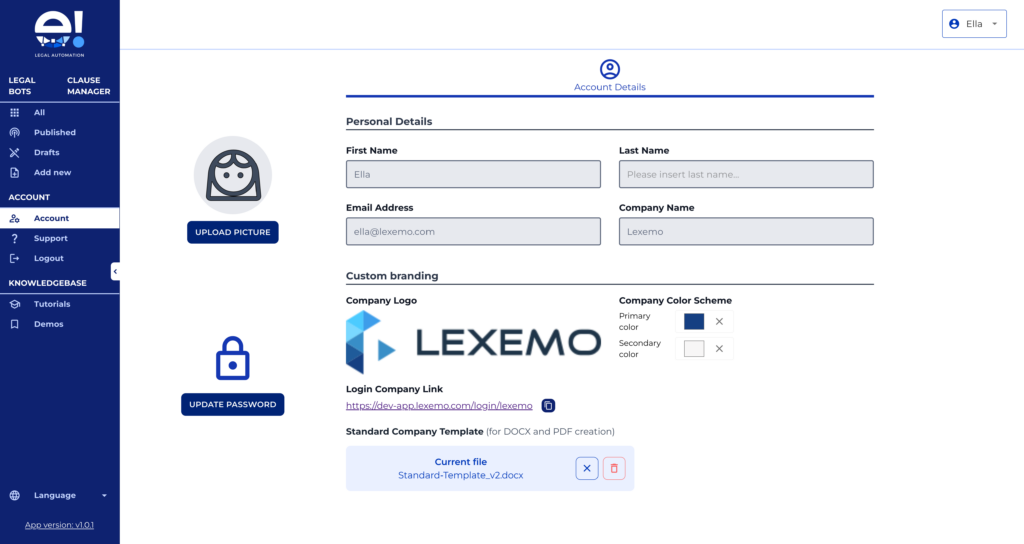
– Account:
Manage your subscriptions, notifications, and more in this area. Let’s see more in dept.
- Personal Details: Here, you see your basic profile info. If you’re not the account owner, you can view but not edit these details.
- Upload Picture: This is where you can add a picture or avatar to your profile. Make it fun and unique!
- Update Password: This is your password control. Use it to change your account password anytime you need.
- Custom Branding: In this section, you find your company logo and color scheme. If you want to change them, the account owner must do it.
- Login Company Link: This is your company’s unique URL. If a client loses their bot invite, you can send them this link.
- Bot Template: Here, you’ll find the default template for your bots. While the account owner sets the standard, you can modify it for specific bots if you need some extra creativity.
– Support:
Just click here if you need assistance. This option is your lifeline to the e! Team. A single click and you’re set to send us an email with any queries or problems. Remember, our team is just an email away!
– Logout:
When you decide to call it a day, simply hit ‘Logout’ to end your e! session.
3) Knowledgebase section: When you need some help building you bot, just come to this section. Here you will find:
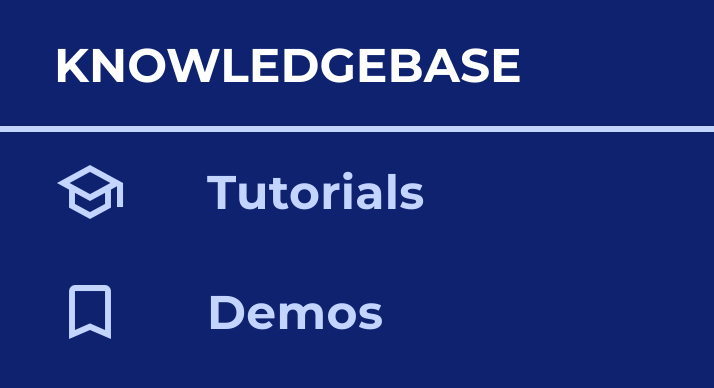
– Tutorials:
This will redirect you to our collection of helpful video tutorials. And if you’re searching for something specific, the search bar is there to assist you.
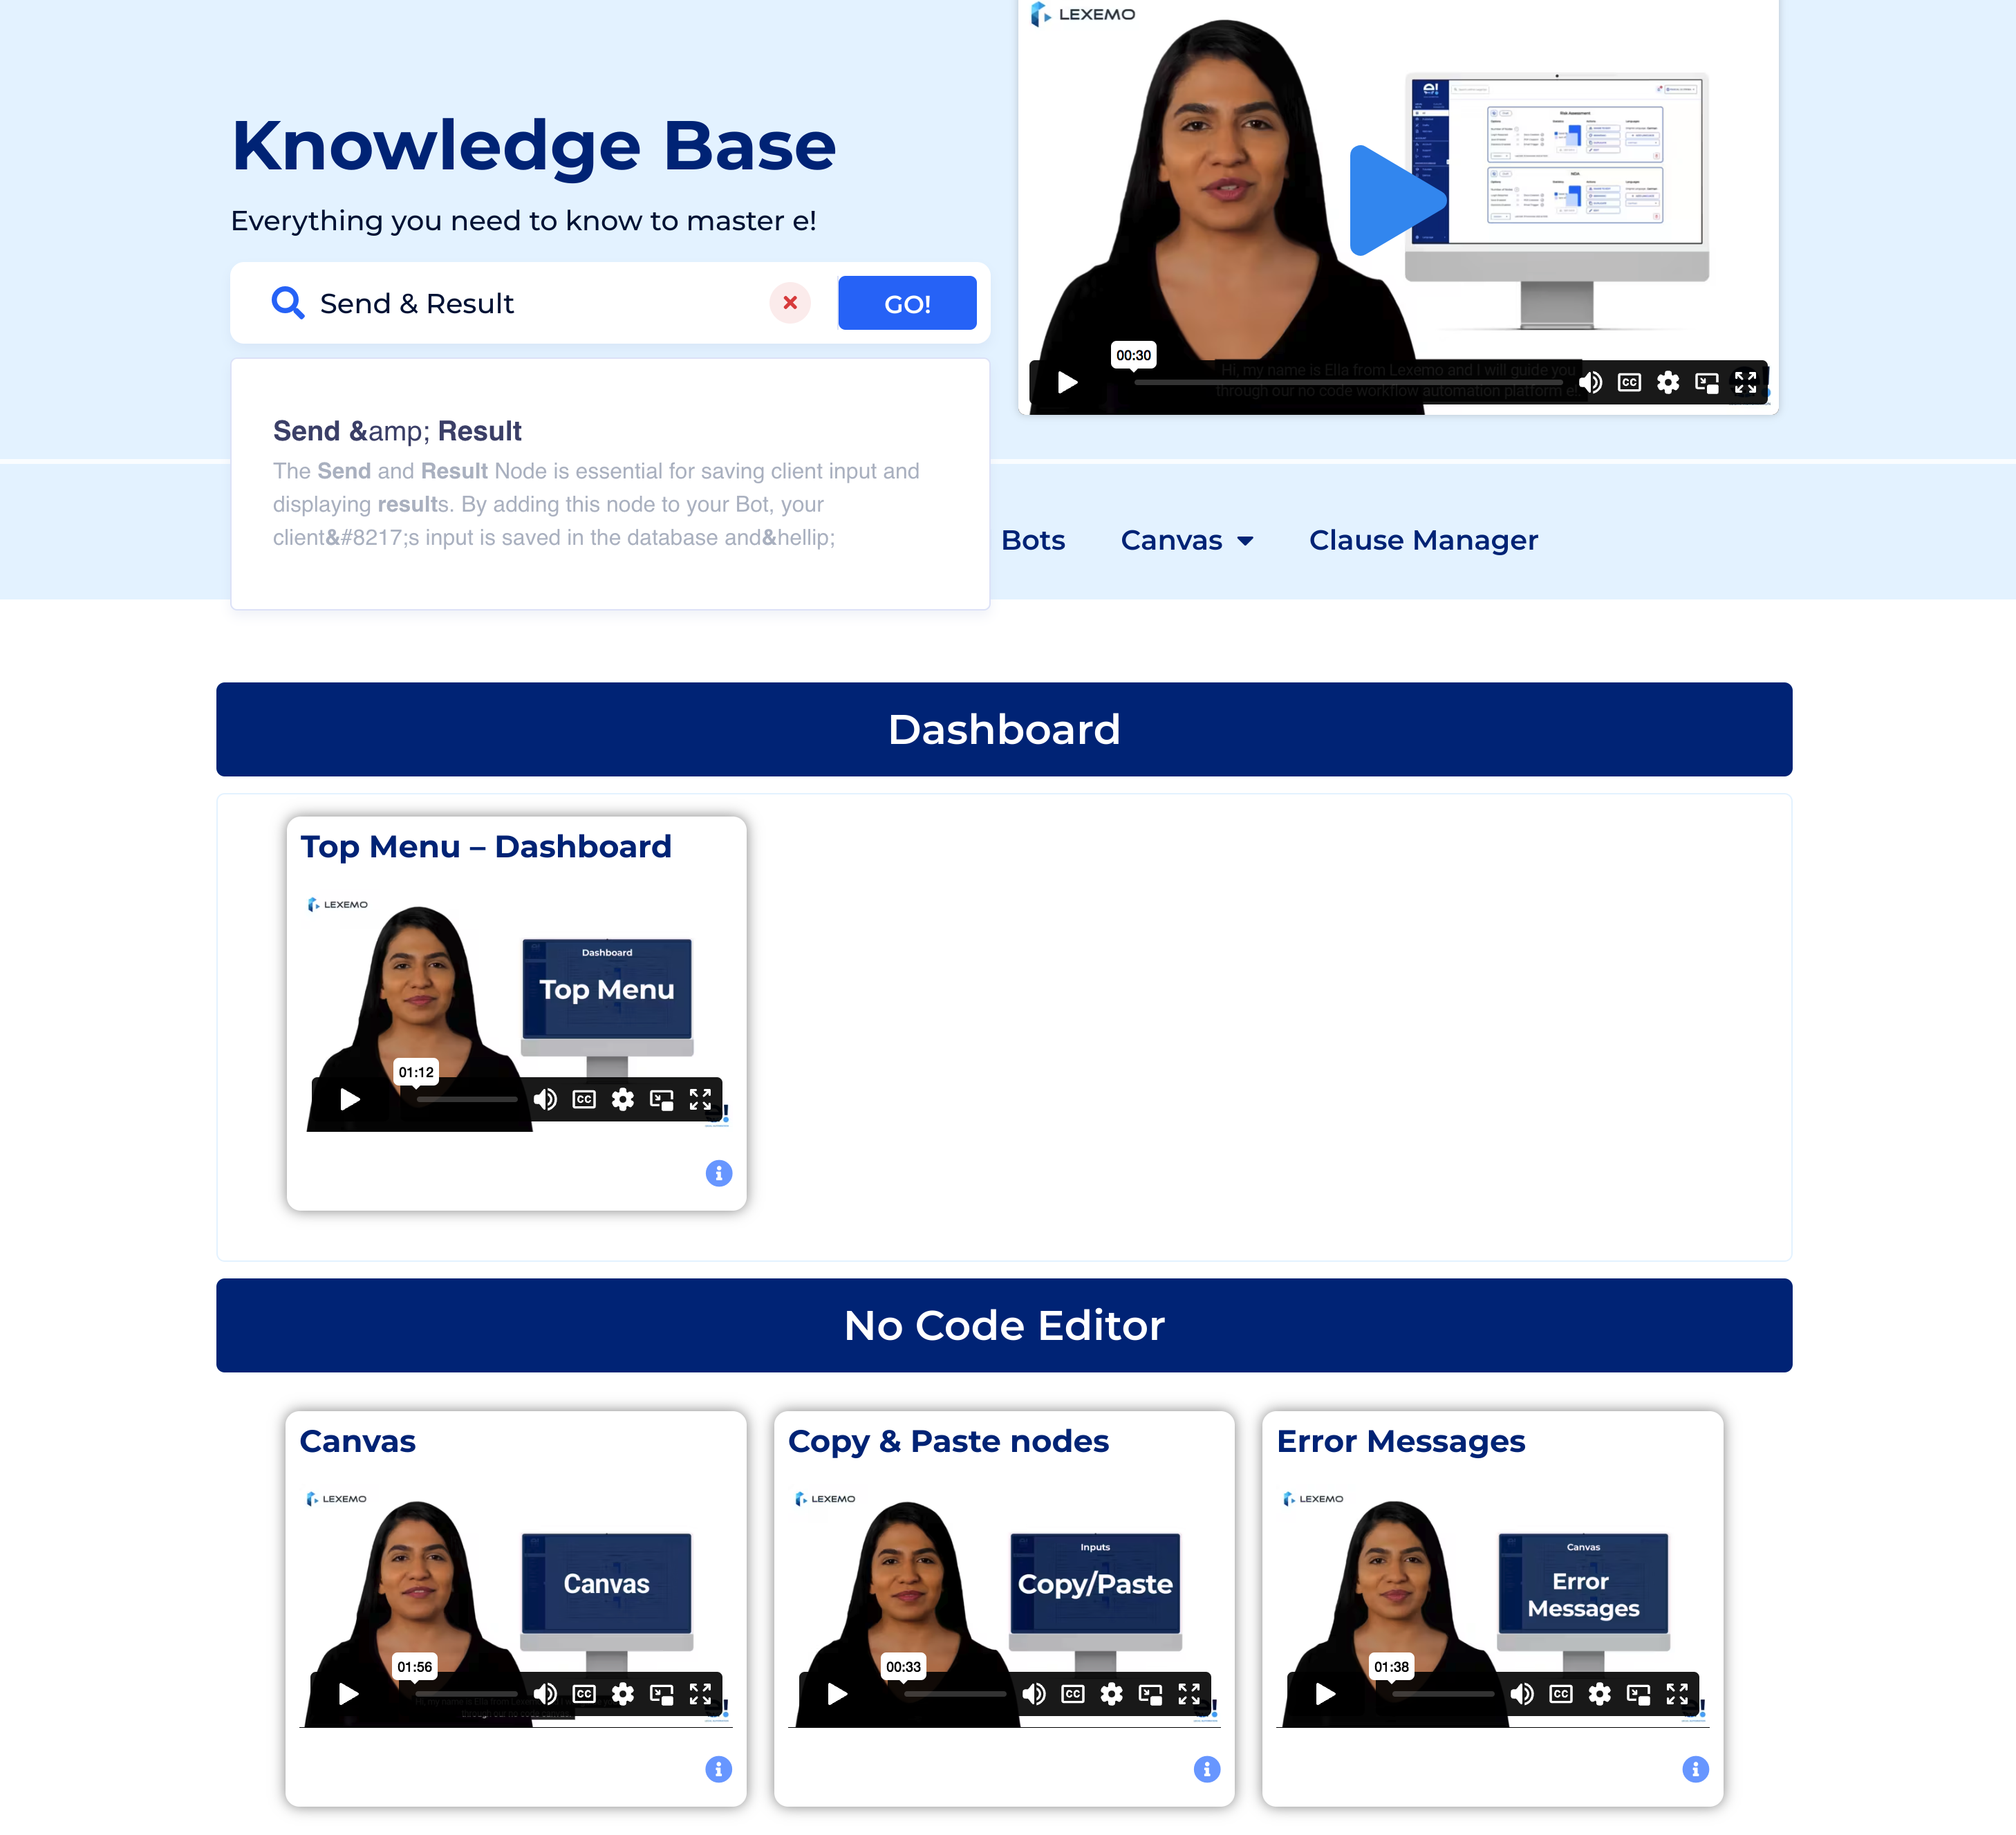
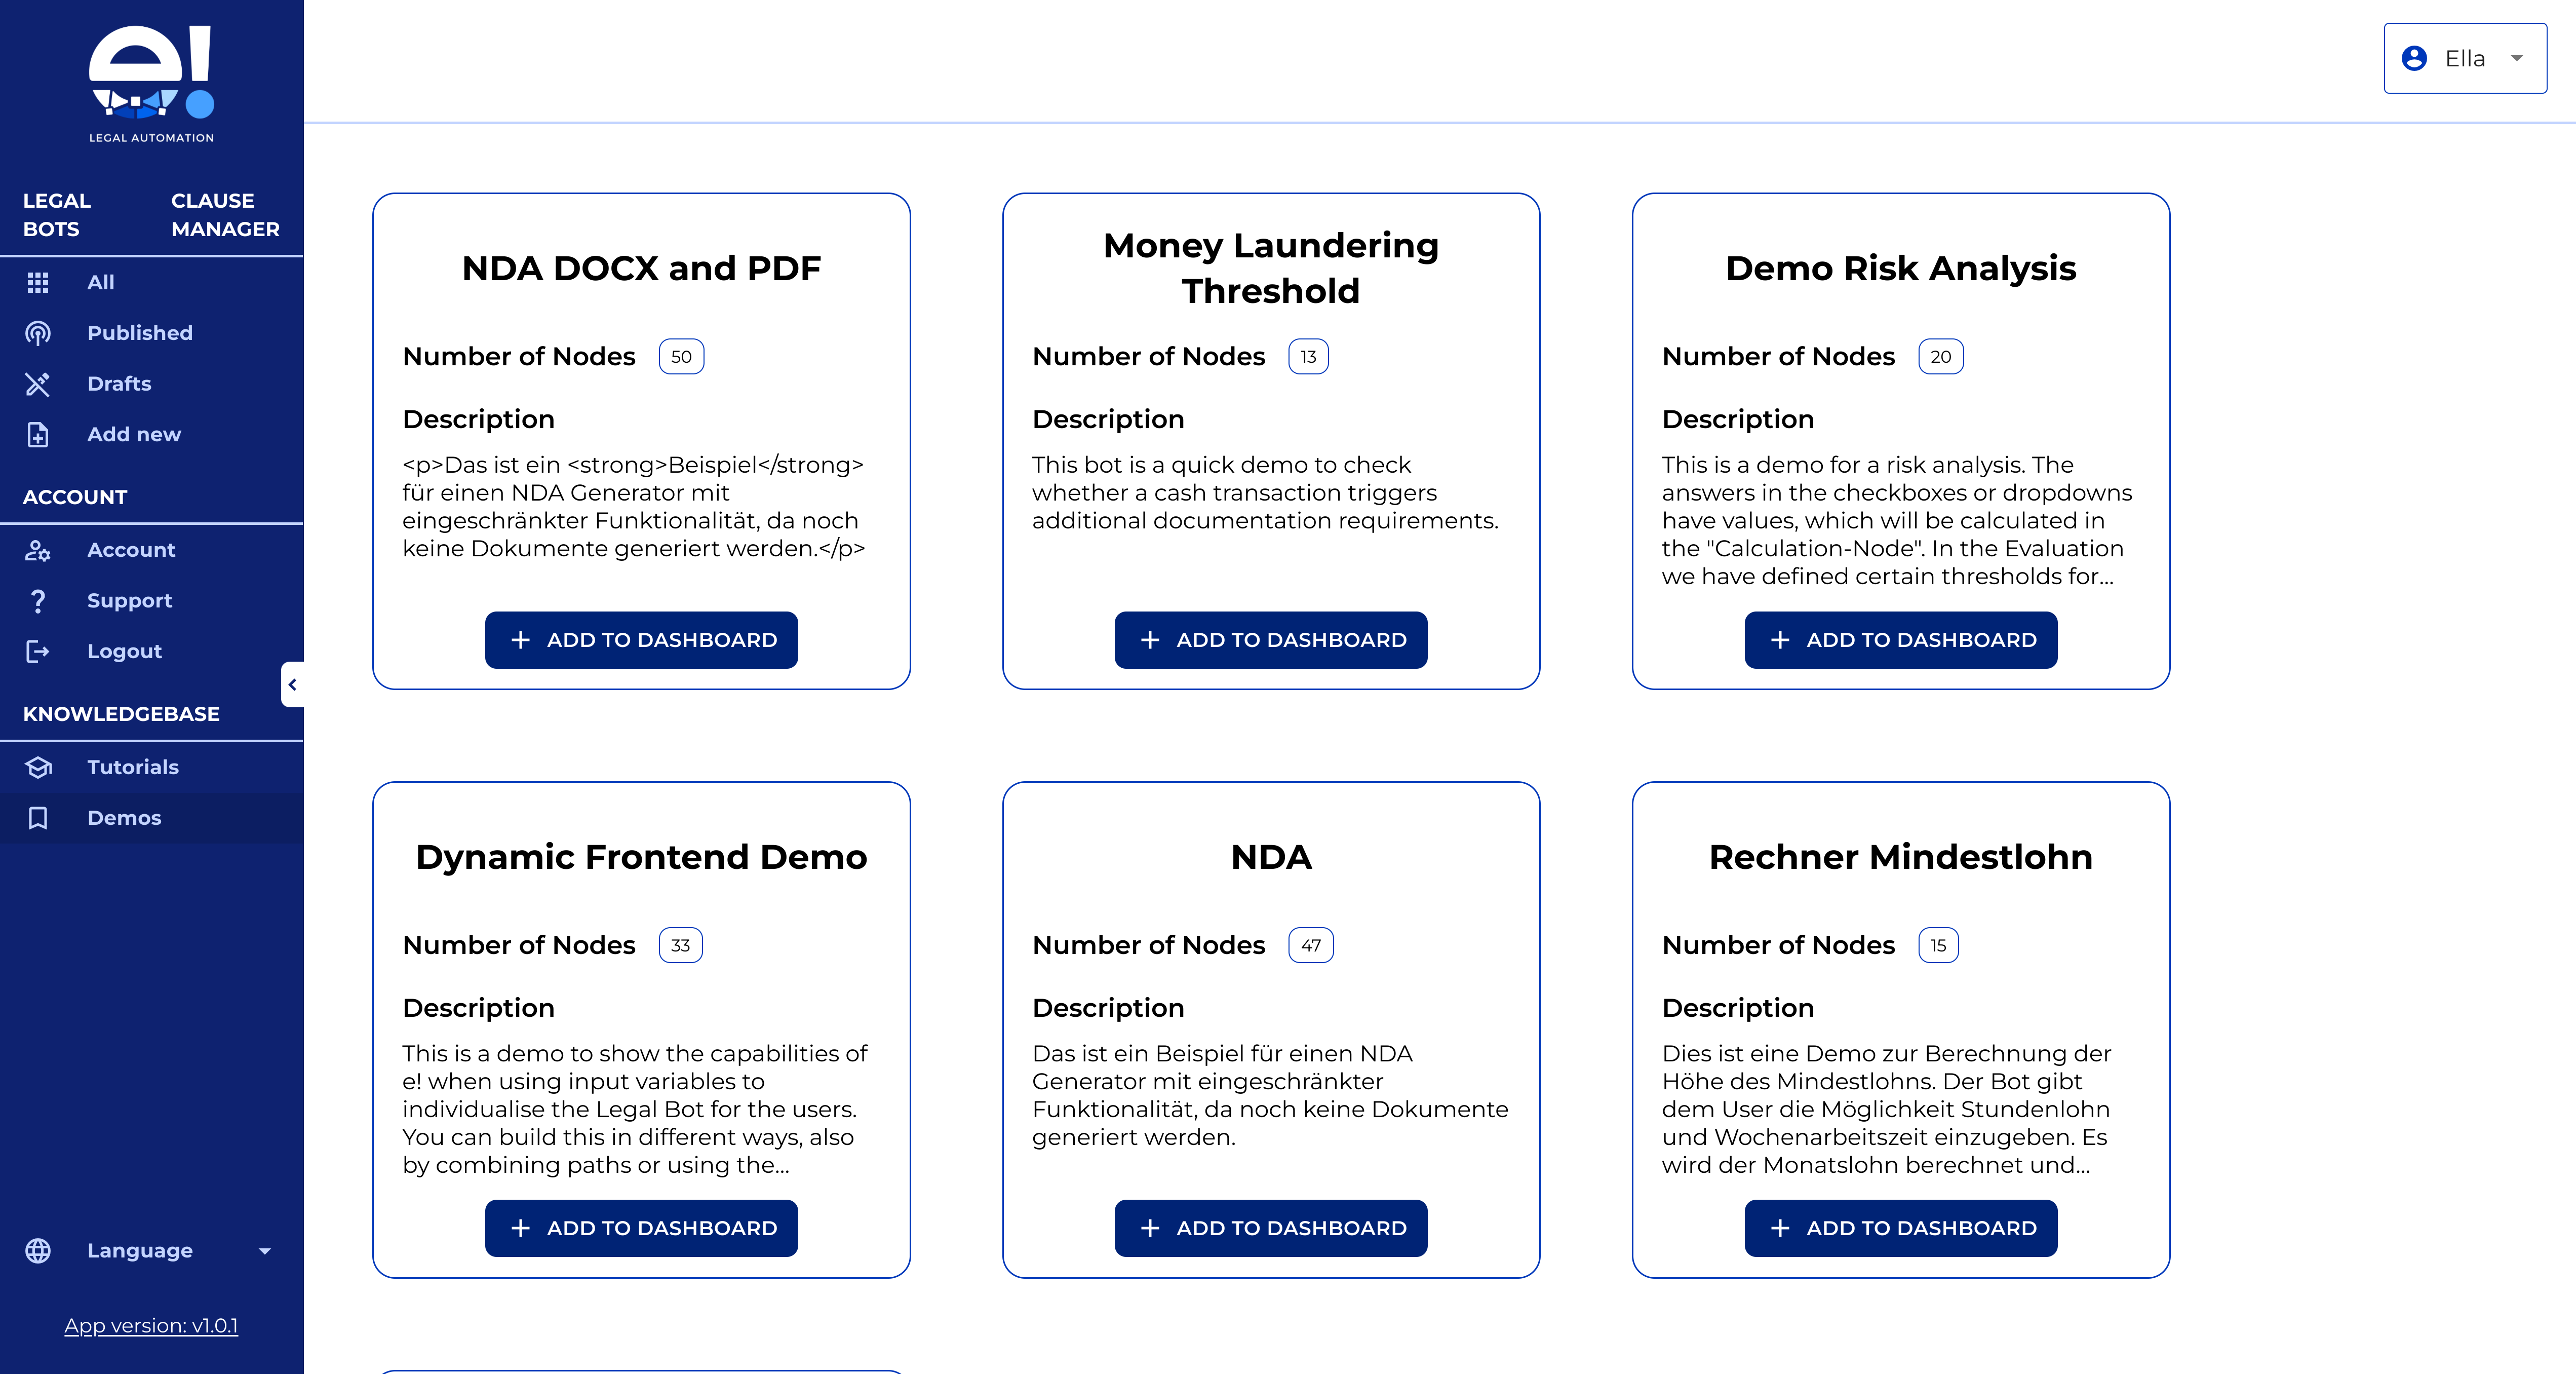
– Demos:
This section is a fast track to success, filled with common processes already built in e!. Simply click on ‘Add to Dashboard’ to add a new bot to your workspace. The best part? The structure is already set up. All you need to do is rename the nodes and inputs for your client.
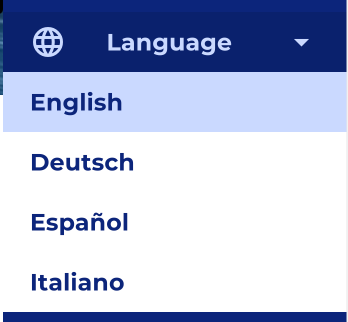
4) Language
For multilingual users, use this dropdown to switch the entire app to your preferred language.
5) App Version
It’s essential to keep up-to-date with the latest version of e! Click on the link to land on our Changelog page for all the latest updates or fixes to our tool.
This is all fellows! Carry on with the next video to continue your journey towards becoming a master bot creator!