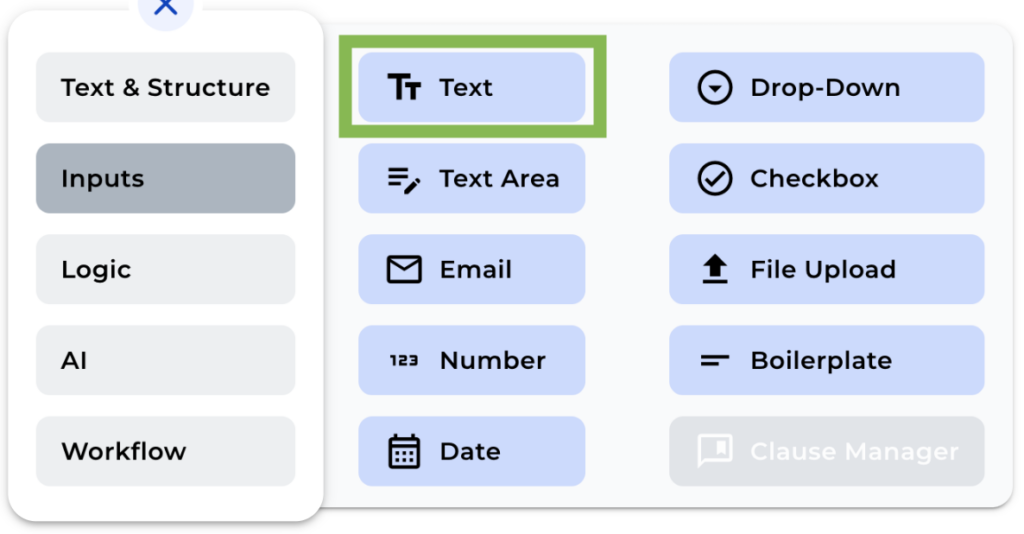
The Input Text node is located in the Input Section on the “+” menu, you will find powerful nodes that enable you to add input variables to your bot. These variables are presented as input fields in the front end of your bot, allowing your clients to enter the information you need from them.
In this tutorial, we’ll be focusing on adding a Text Input node.
Step 1: Add the Text Input Node
Look for the Input section in the “+” menu, and click over “Text”
Step 2: Name the Node
To make it easier for you to manage your input fields, give them a name to clarify what each input is used for.
Step 5: Add Descriptions
If you wish to add some explanations in the front end for your client, just add some text in the description box.
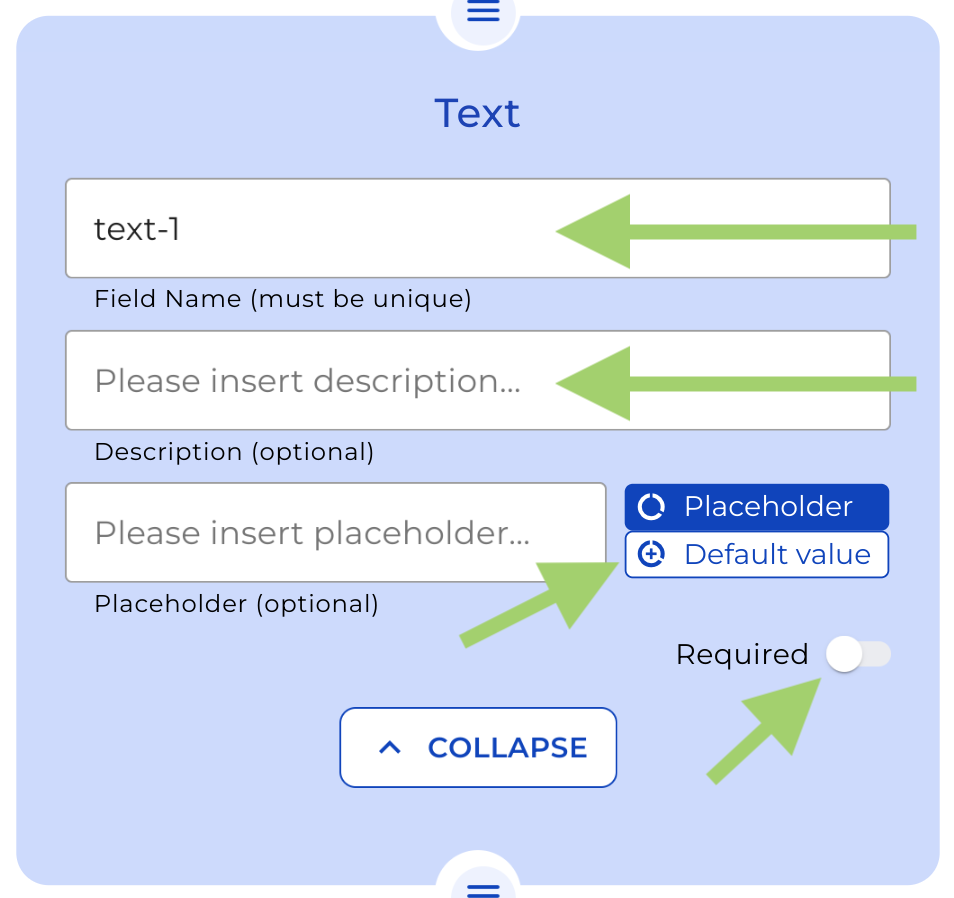
Step 6: Add a Placeholder or default value (Optional)
To guide your clients on what to enter in the input field, you may include a placeholder text or a default value by clicking over the buttons on the right side of the text box.
Step 7: Choose if the input is required or not
If you toggle the “required” option, the bot can not be completed without entering text into the field. So use this option wisely.
Once you’ve finished customizing your input fields, save your changes and preview your bot to see how it looks in the front end.