The Input File Upload node allows your clients to upload one or more files when interacting with the front end of your bot. In this tutorial, we will see how to use this node.
Step 1: Add the Date Node
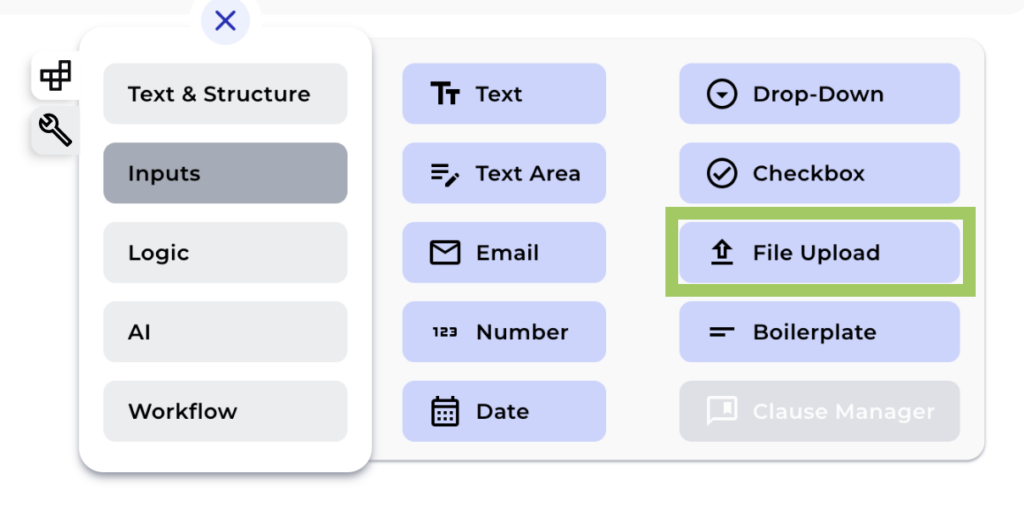
Add a File upload node in your bot from the “+” menu.
Step 2: Change the Field Name
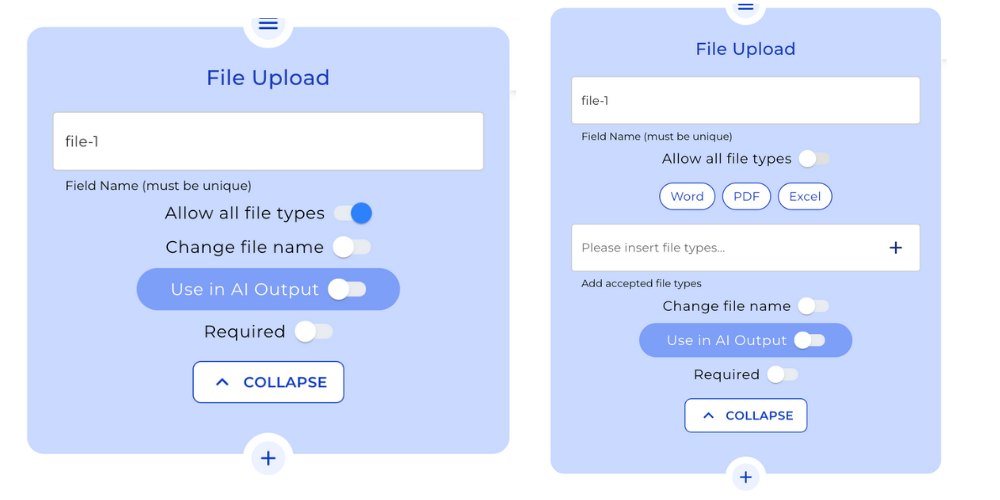
Modify the field name of the File Upload Node for internal reference. Keep in mind that this field name will not be visible to the user in the frontend.
Step 3: Set File Type Restrictions (Optional)
Choose whether you want to allow only specific file types to be uploaded or if you prefer not to have any limitations on file types.
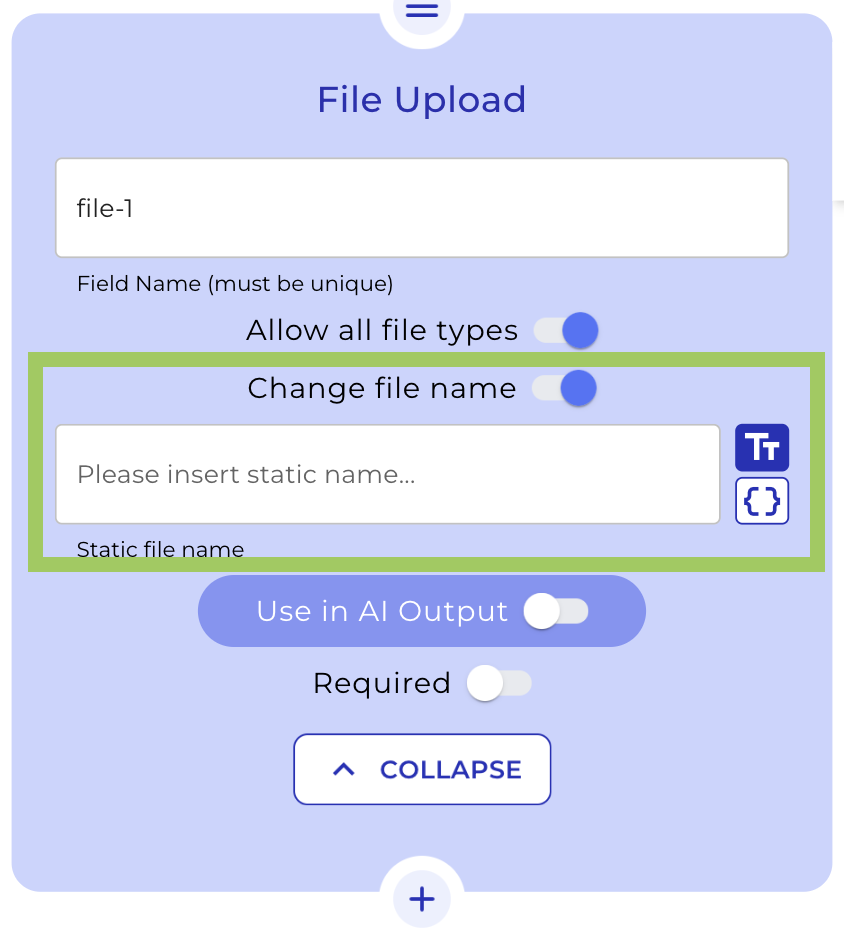
Step 4: Configure File Renaming (Optional)
Decide if the uploaded file should be renamed. You can choose to use a static name or a dynamic value by referring to another input field, such as a text field created earlier in the bot.
Step 5: Link the file to an AI Output node
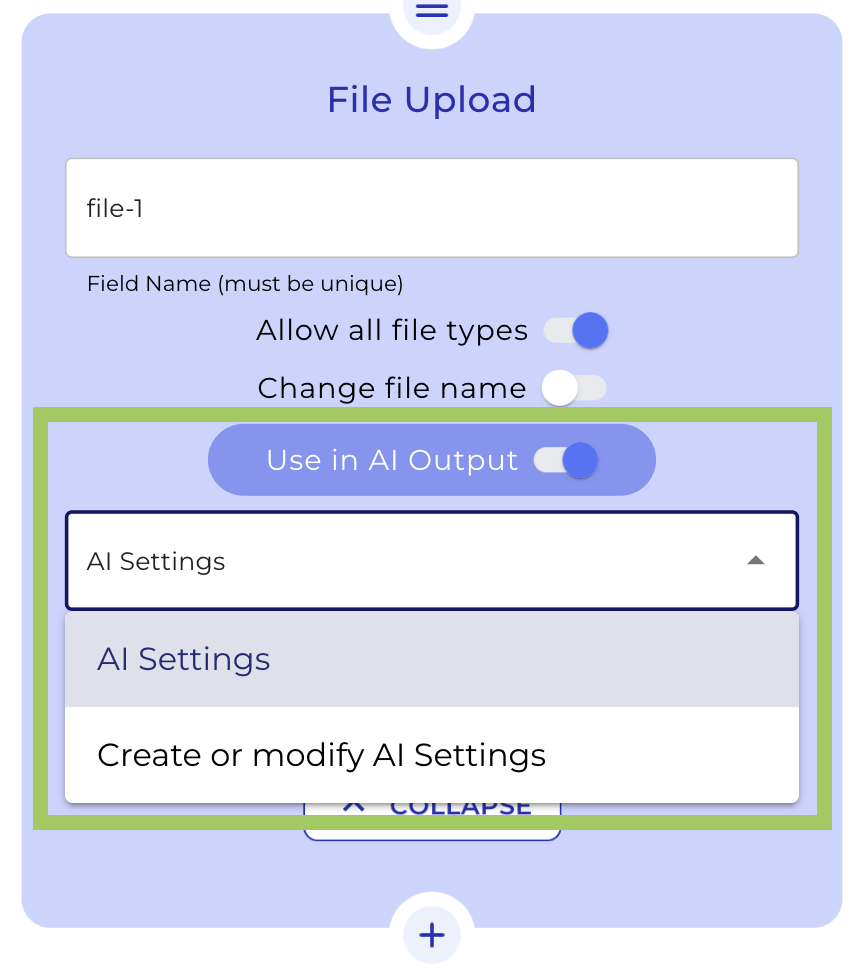
In order to use uploaded documents in an AI output node, you need to switch on the “Use in AI Output” toggle. From the dropdown, select “Create or modify AI Settings” to open the AI setting modal.
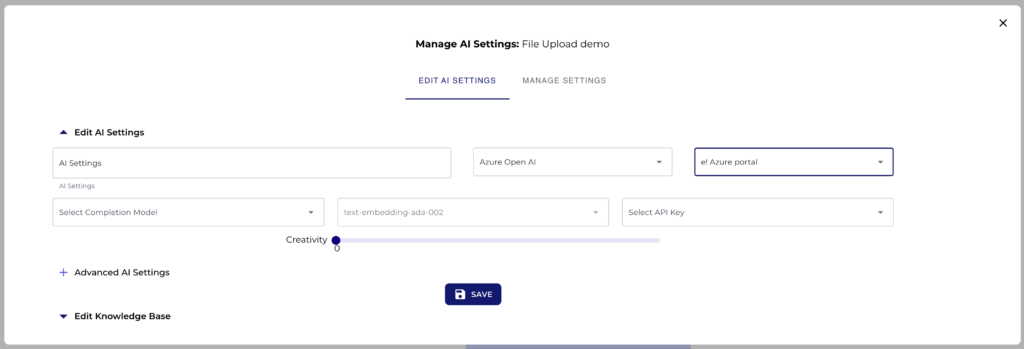
Step 6: Create the AI Settings
From the dropdown, select “Create or modify AI Settings”. On the modal, first, enter the name, second, select the provider, next, the AI model, the API Key, and last click over the “save” button.
Step 7: Recognize image files
Next, you can see the “Recognize image“ toggle. When activating this you will have the option to upload documents that contain an image, and you will be able to use the AI to extract data from the image. To know more about this option, you can watch the video tutorial “Recognise Image Function (File Upload Node)”.

Remember to click on “Preview” in the top menu to see how your bot will appear to your clients. This helps in making any necessary adjustments before implementation.

Happy automating with e!