Today we’re diving into the world of the “Contract Comparison” Get ready to streamline your comparison process!
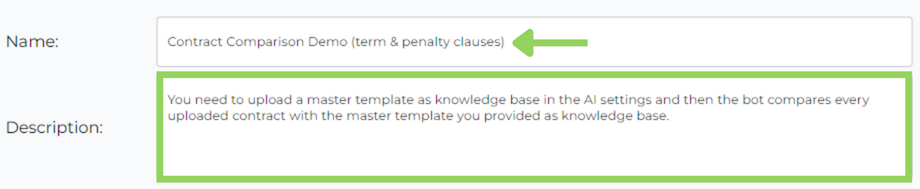
Step 1: Name Your Masterpiece
First things first, let’s give your creation a name. Write a brief description as well.
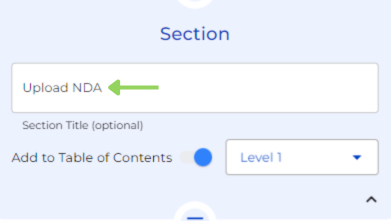
Step 2: Building the Foundation
To keep things tidy, let’s add a “Section” node that we have named “Upload NDA”. To give your bot structure and clarity.
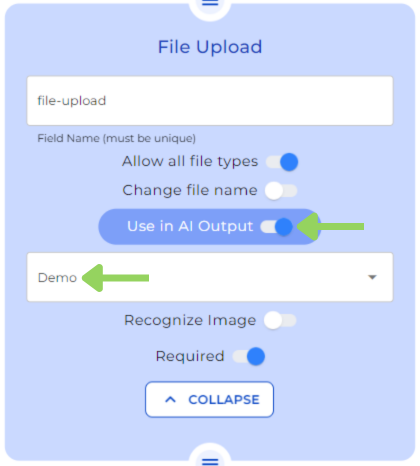
Step 3: Upload the Contract
Now, add a “File Upload” node. This is where your user will upload the contract they want to compare in the front end.
Remember to activate the “Use in AI Output” switch and choose or create the AI settings to give your bot the brains it needs.
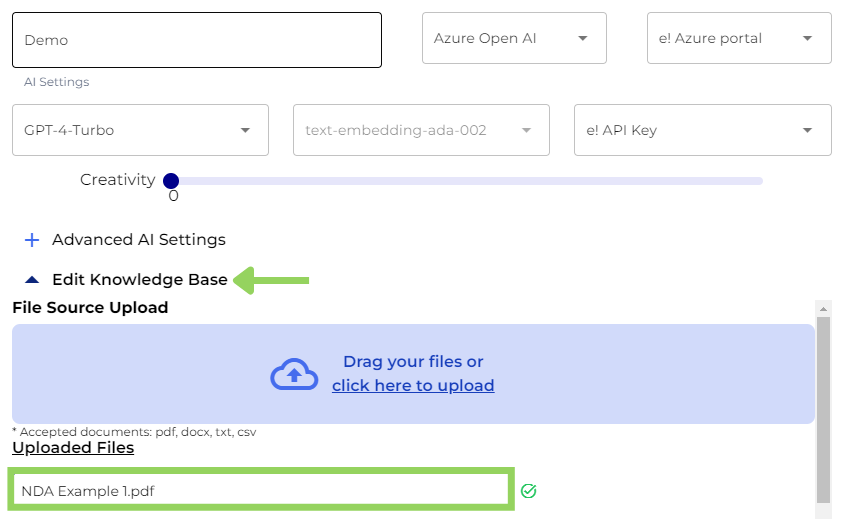
Here’s the secret weapon: You need to upload a master template as knowledge base in the AI settings and then the bot compares every uploaded contract with the master template you provided as knowledge base.
Step 4: Organize your bot
Let’s add another “Section” node to distinguish between the different parts of the bot. This time it is called “AI Comparison” .
Step 5: Unleashing the AI’s Power
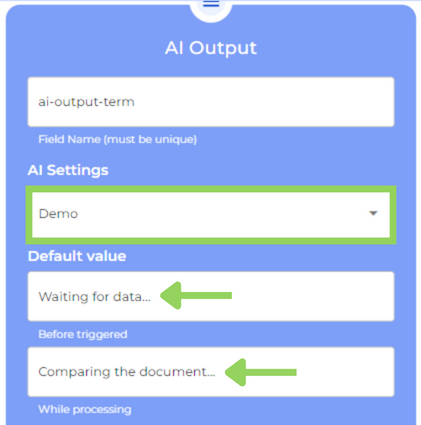
Now, the magic begins! Add an “AI Output” node. Don’t forget to choose the AI settings you created earlier.
Set clear default values for the user while the AI analyzes the data. We chose “Waiting for data” and “Comparing documents,” but feel free to get creative!
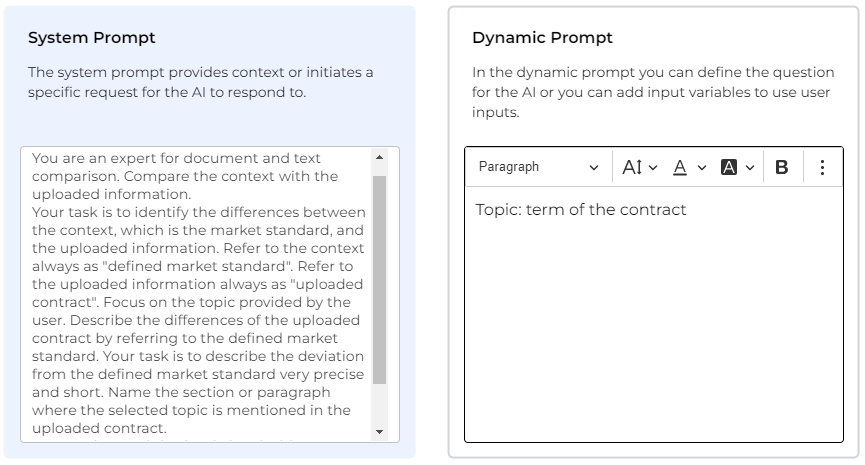
Now, for the tricky part – the prompt. In this case, we want it to extract information about the contract’s term.
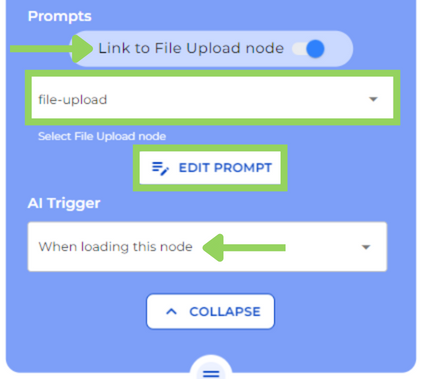
Here’s a key step: Link this AI Output node to the “File Upload” node. This tells the AI to compare the knowledge base with the user-uploaded contract, not a random document.
To end up with this node, choose “When loading this node” from the AI trigger dropdown to ease the analysis process.
Step 6: AI’s Power II
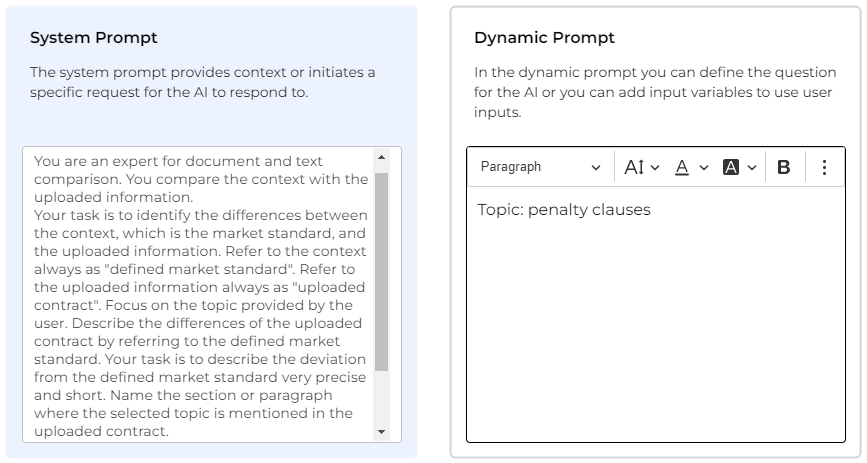
We’re not done yet! Add another “AI Output” node. Here, select the same AI settings, copy the default values from the previous AI Output and toggle the “Link to File Upload node”.
But we are going to change the prompt. This time, we want the AI to extract information about the penalty clauses.
Step 7: Presenting the findings
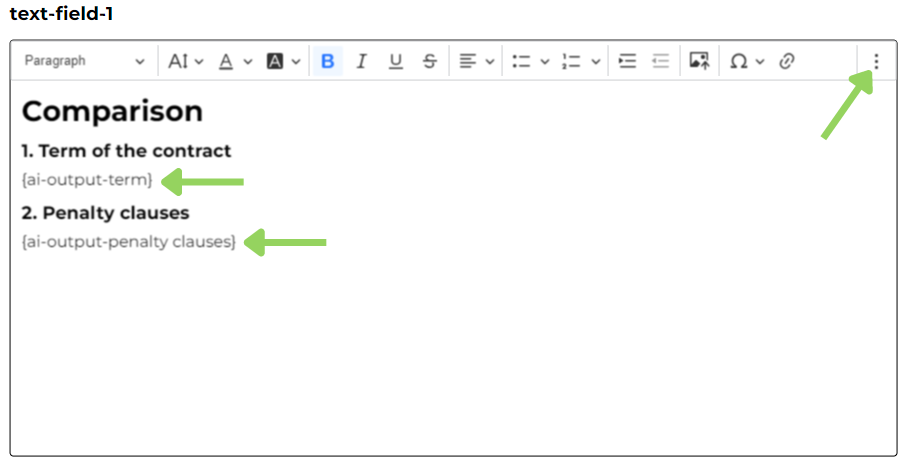
Let’s make the AI findings visible in the front end by adding a “Text Field” node. Use the three-dot menu to select the variables from the “AI Outputs” we just created. This displays the extracted information about the contract terms and penalty clauses in a user-friendly format.
Step 8: Sealing the Deal
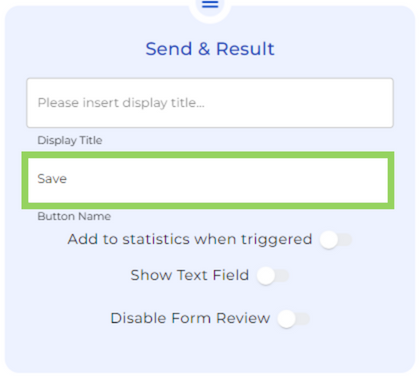
Finally, add a “Send & Result” node. This marks the end of a path in the bot . Here, users can click a button (we have named “Save”) to keep the extracted information for future reference.
If you want to learn in greater depth about this node, you can watch the Send & Result tutorial.
Step 9: Witness the Glory!
Now, the moment you’ve been waiting for. Click “PREVIEW” to see your comparison bot in action!
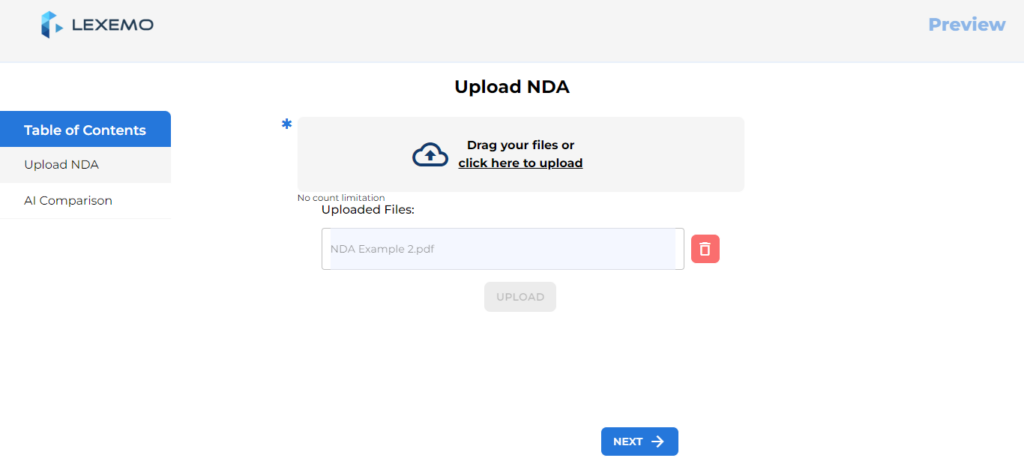
Upload a contract and click “Next”.
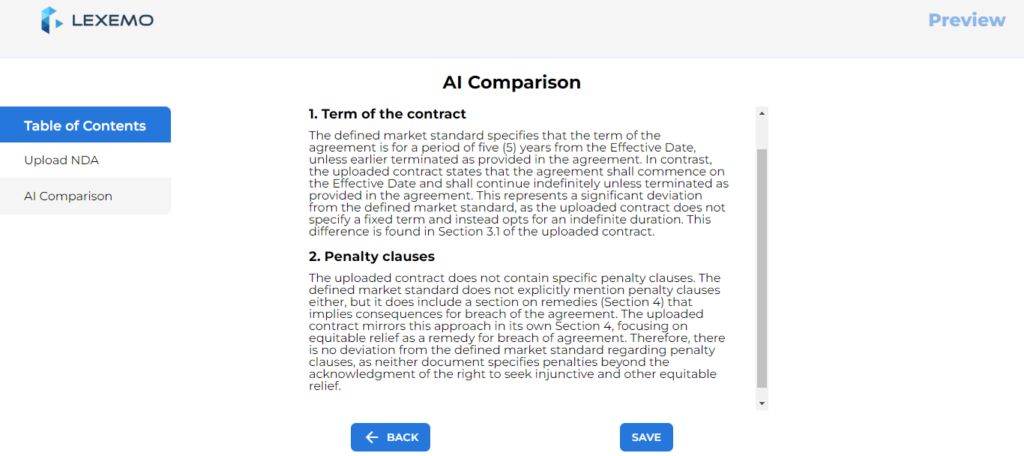
Lastly, watch in awe as the AI extracts the information you requested in seconds. Feeling impressed? You can even save the results using the “Send & Result” node, making your comparisons a breeze.
So, there you have it! With this powerful demo, you’re well on your way to becoming a contract comparison champion.
Happy comparing with e!