In this video, we’ll show you how to use the “AI Chatbot” We’ll see how to insert this node within the legal Bots in order to create a chat based on your desired information. Let’s start Now.
Step 1: Add the AI Chatbot Node
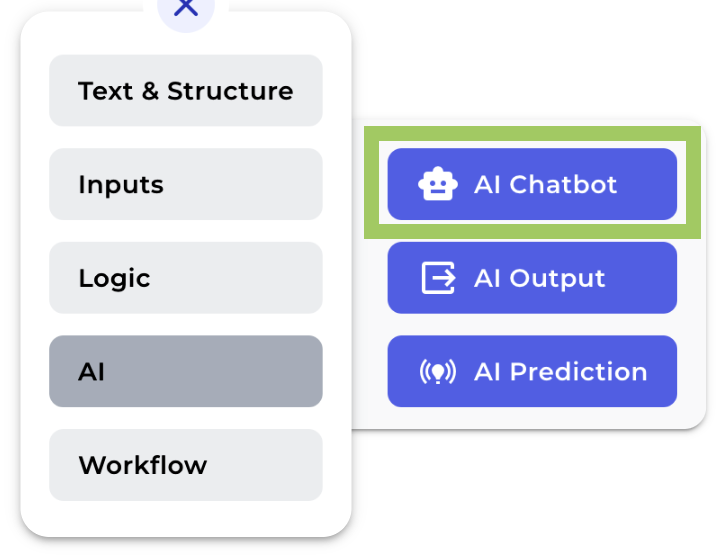
Click “AI Chatbot” from your menu and you will immediately see the node added to your canvas.
Step 2: Enter a title
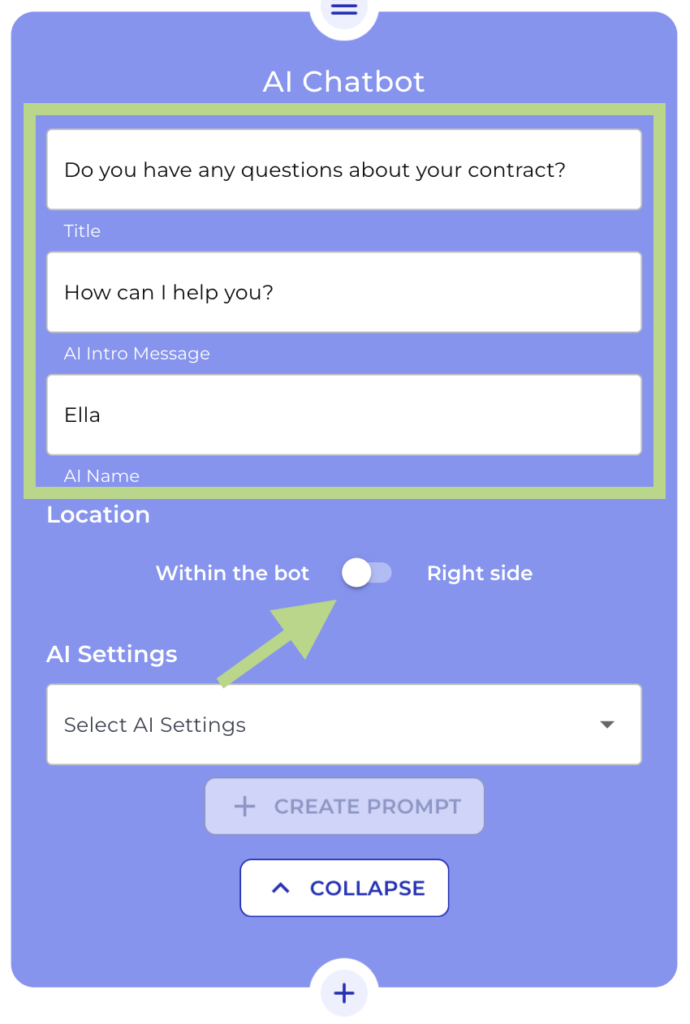
Provide a title for the AI Chatbot. This title will be the heading in your chat window in the frontend.
Step 3: Enter an Intro message for your bot
Enter a personalized message for your client. This will be the first message your client will see in the chatbot, so remind to be friendly and clear!
Step 4: Give a name to your bot
Do not forget to give a name to the bot! This will be the name that appears on the chatbot and will provide the answers to your client’s questions, so be as creative as you like!
Step 5: Choose Chatbot Location
Now is the time to decide where you want your chatbot to be visible. Choose “Within the bot” if you want the chatbot to appear as part of the Legal bot or select “Right side” if you want your client to have the chatbot visible on the right side of the screen while they are completing the Legal bot.
Step 6: Select your AI Setting
From the dropdown, choose a previously created AI settings for your bot, or create a new one by clicking on “Create or modify settings”. This time we will create a new one.

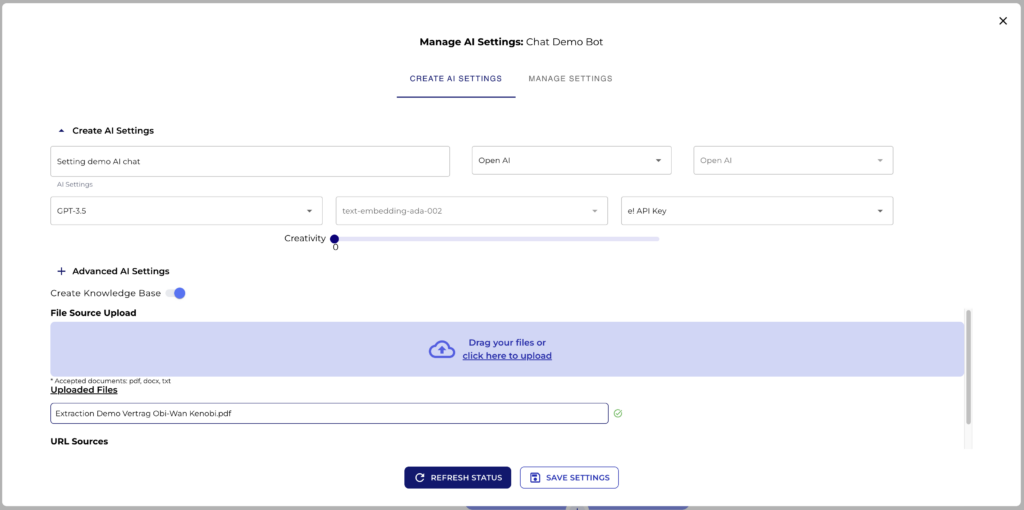
The AI Settings will open and there we can provide a name for the specific setting, we will name it “Setting demo AI chat”. We select Open AI as Provider, and as AI model, ChatGPT 3.5. We choose e” API Key and a creativity of 0.3. We click save and continue to the knowledge base. In the knowledge base section to determine the context for the chatbot. Every answer of the chatbot will be created from the context of the knowledge base only. So the AI is limited wo the context you provide here in this section.
Step 7: Upload your knowledge base
Activate the “Create Knowledgebase” switch. In this case we will upload a pdf file and won’t use a URL. The file we are going to use is a demo contract.
Step 8:Create a Prompt
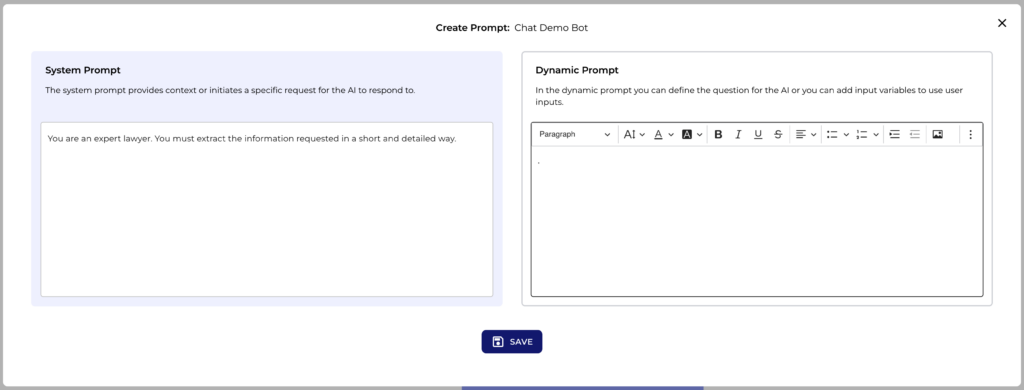
Now we will create a simple and descriptive System Prompt for our AI
-System Prompt: You are an expert lawyer. You must extract the information requested in a short and detailed way.
For this specific example we don’t need a Dynamic Prompt. As we can’t leave this space just empty, we will add a dot.
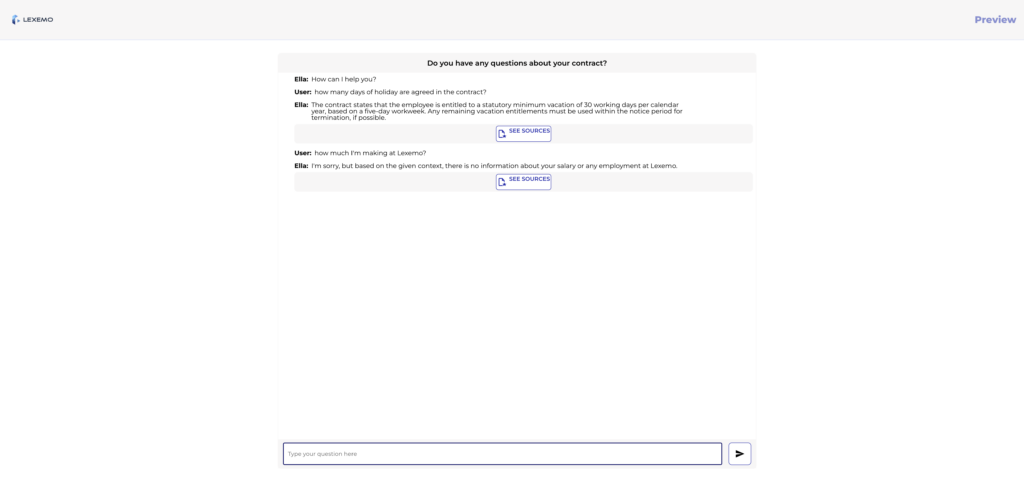
Step 9: Preview the AI Chatbot
Click the “Preview” button in the header menu to view the front end, where you’ll see the Chatbot in action.
Let’s ask the bot how many days of holiday are agreed in this contract … and magic! There we have our correct answer! But just remember, the Chatbot can only answer questions related to the content we uploaded in the knowledge base section. So let’s ask the bot how much I’m making here at Lexemo. This information is not in the demo contract. And voila! here we have our answer.
That’s it! you can offer AI powered guidance to your clients with your defined context. By the way, thinking about my salary…I think I need to call my boss and ask for a raise. See you next time!