Build a Legal Clause Explainer Bot — No Code Required
Learn how to build an AI-powered bot that explains any legal clause in plain language — tailored to lawyers, business professionals, or anyone unfamiliar with legal jargon. No coding needed.
AI Clause Explanation
Today we are learning how to create a bot capable of explaining a legal clause provided by a user in the front end for different audiences. Whether you're a lawyer, a business professional, or someone simply seeking clarity on legal terms, this bot will tailor explanations to suit various levels of understanding.
Impressive, isn't it? Let's check its power in the front end.
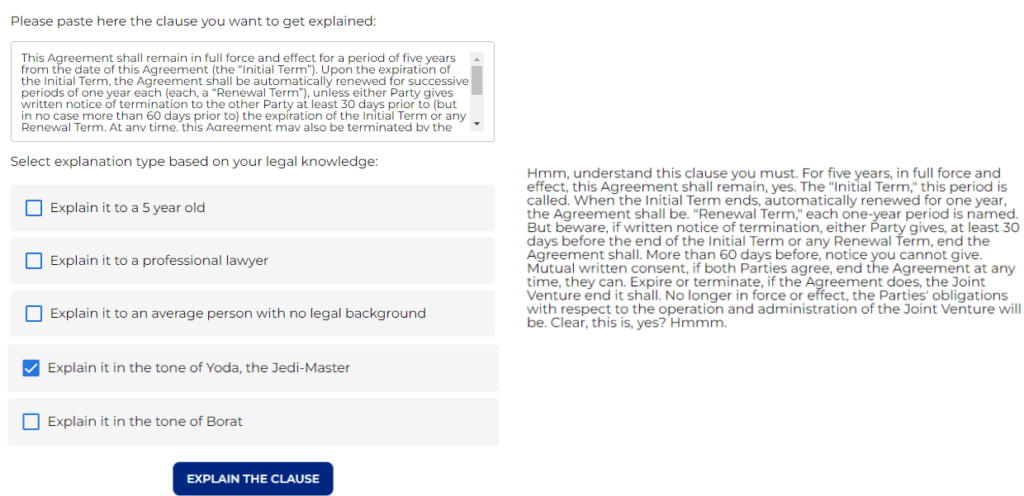
The first thing you need to do is either type or paste the clause you need to get explained. Next, select the type of explanation you want based on your legal knowledge from the checkbox. Click on "Explain the Clause" and, in a few seconds, you'll receive the clause paraphrased according to your selected legal knowledge level.
– Let's build this bot step by step! –
Step 1: Focusing on user input
First off, as we always do, type a catchy name and a concise description for our bot.
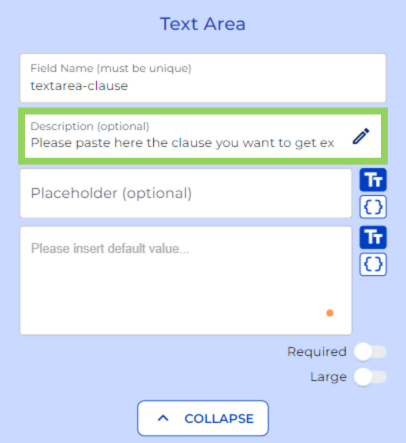
Afterwards, we include a "text area" node for your client or colleague to either paste or type the clause they need to get explained.
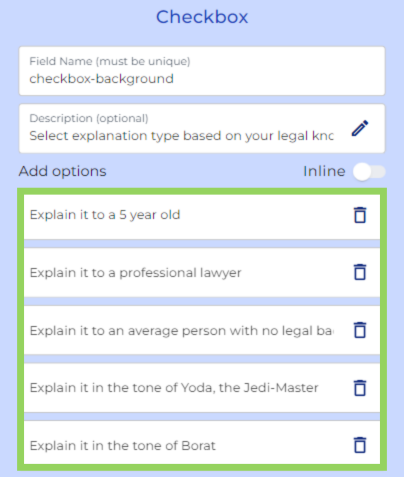
Next, for this example we have added a "checkbox" node. Here we have included different language options for the user to select based on their legal knowledge.
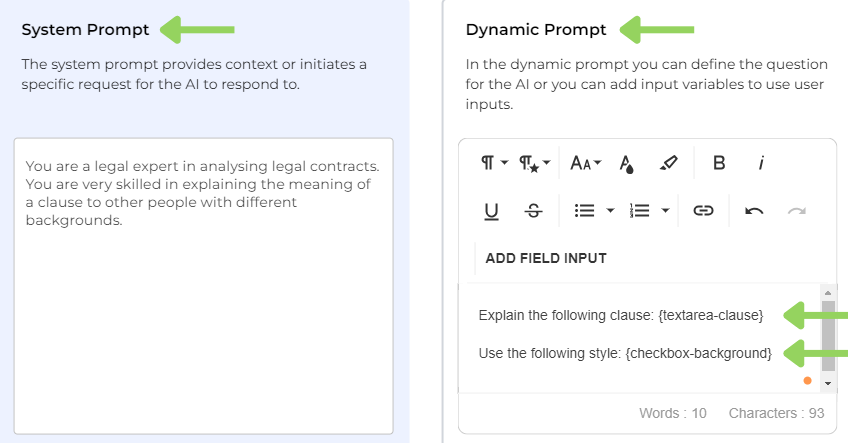
Step 2: Configure the AI Engine
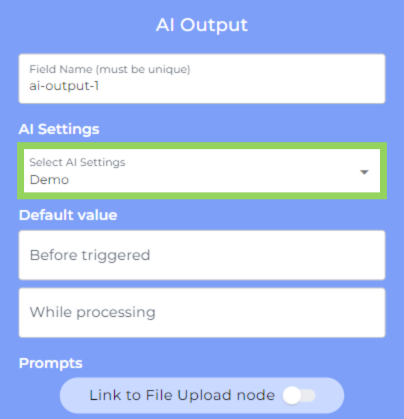
Now, we introduce the "AI Output" node. Create your own AI settings according to your bot needs, or modify the Demo AI settings included in the e! demo bot to optimize their capabilities and boost your bot's performance.
And here comes what you may already know from other AI tools, prompt creation. For this example, we have instructed the AI to explain the meaning of the clause to people with different legal backgrounds. In the "dynamic prompt," we specified how we want the AI to explain the specific clause. To achieve the expected answer, we include the "text area variable" containing the clause from the frontend and the "checkbox variable" to ensure the explanation matches the selected type of explanation.
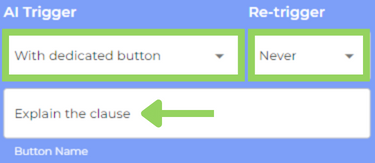
We finalize with this node by selecting how we want it to be triggered. In this case we selected a specific button called "explain the clause" that cannot be retriggered.
Bear in mind that these are the most suitable settings for our purpose, but you can make any adjustments to fit best according to your requirements.
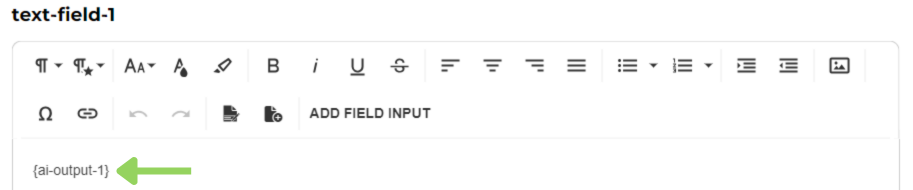
Step 3: Displaying the Explanation
We have finally reached our last node, a "text field". We use this node to display the AI's explanation. To do so, we need to add the "AI Output" variable.
And voilà! Now you can easily paraphrase any legal clause to be understood by people with any level of legal knowledge. Save time and provide clear, tailored explanations effortlessly.
Your clients will love the clear and simple explanations!
Happy automating with e!